- 200 photos per second
- more than 100,000 analyses per second
- Advanced surface analysis
- Detection of dents and marks
- Defect search with artificial intelligence
VISION SYSTEMS FOR QUALITY CONTROL: REAL-WORLD EXAMPLES
In the era of Industry 5.0, machine vision is emerging as a fundamental pillar of quality control. This technology makes it possible to automate the inspection of products, detecting defects imperceptible to the human eye with precision and speed.
Artificial vision systems, based on high-resolution cameras and image processing algorithms, analyse every detail of products on the production line. From micro-fractures in electronic components to imperfections in metal surfaces, no defect escapes their digital eye.
The application of machine vision in quality control offers many advantages:
-
Increased efficiencyinspection automation reduces production time and operating costs.
-
Quality ImprovementThe precision and repeatability of machine vision systems guarantee high quality standards.
-
Reducing wasteearly identification of defects allows early intervention, minimising material wastage.
-
TraceabilityThe data collected by machine vision systems allow each stage of the production process to be traced, ensuring compliance with regulations.
From the automotive industry to electronics, from pharmaceuticals to food, machine vision is proving to be an indispensable tool for ensuring product quality and company competitiveness.
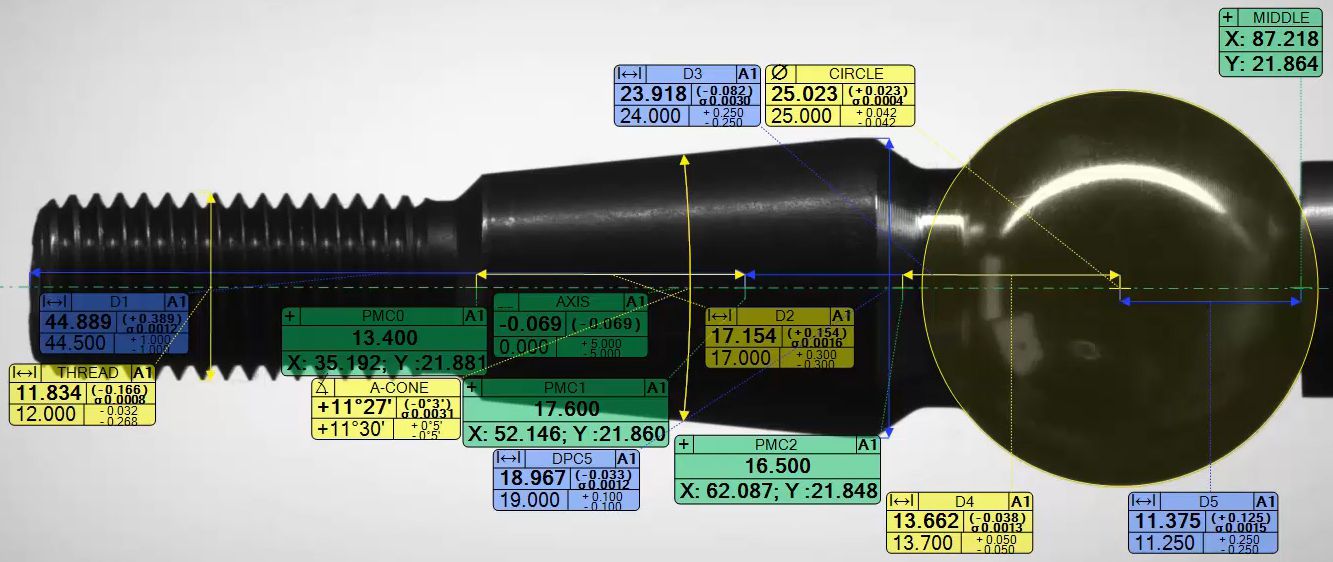
surface quality control system on a turned part
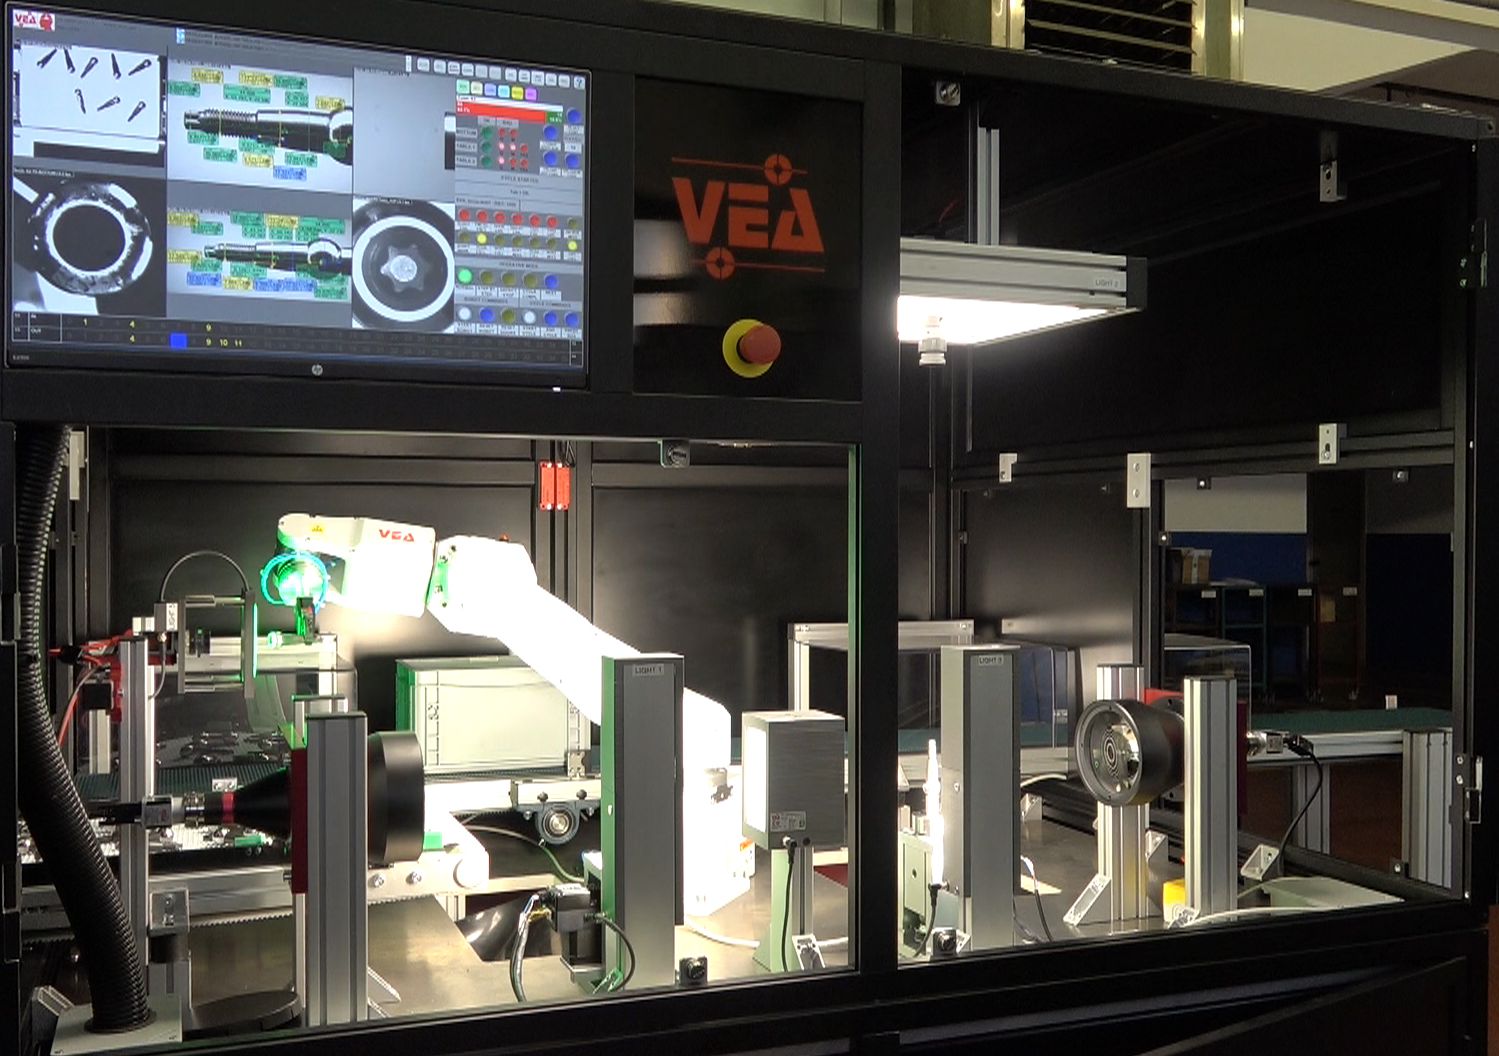
The vision system integrated in this plant performs advanced functions of robot guidance, micrometric measurement and quality control, ensuring high accuracy in the analysis of machined steel parts with reflective surfaces.
Features of the vision system
Robot guide
The system is designed to optimise the robotic picking of components with highly reflective surfaces. The parts, placed randomly on a conveyor belt, are recognised and picked up precisely to be transferred to analysis stations without risk of damage.
Simultaneous measurement and quality control
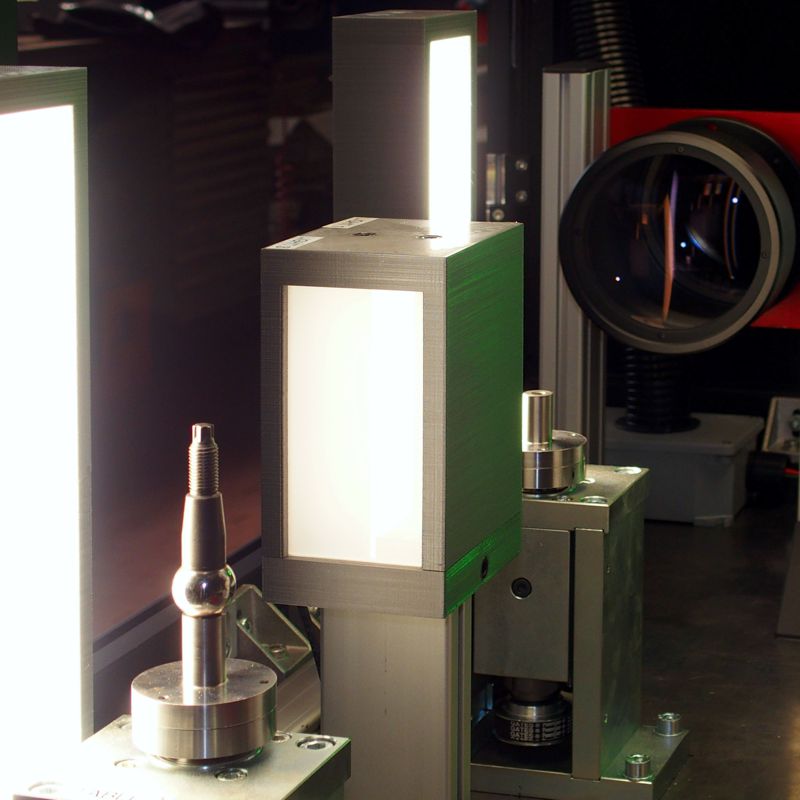
A single system handles two 100 mm diameter optical micrometers and a dedicated camera for inspecting the bottom of the part. During the analysis cycle, the component rotates for three seconds, during which time 180 measurement sessions are performed, each with more than 50 detections. In parallel, quality control detects defects such as dents, engravings, burrs and oxidation.
To ensure maximum accuracy, the optical micrometers adopt a self-calibration system based on a reference set of up to 10 calibrated parts. This approach enables compliance with the most stringent regulations on production line measuring equipment, ensuring constant reliability and accuracy.
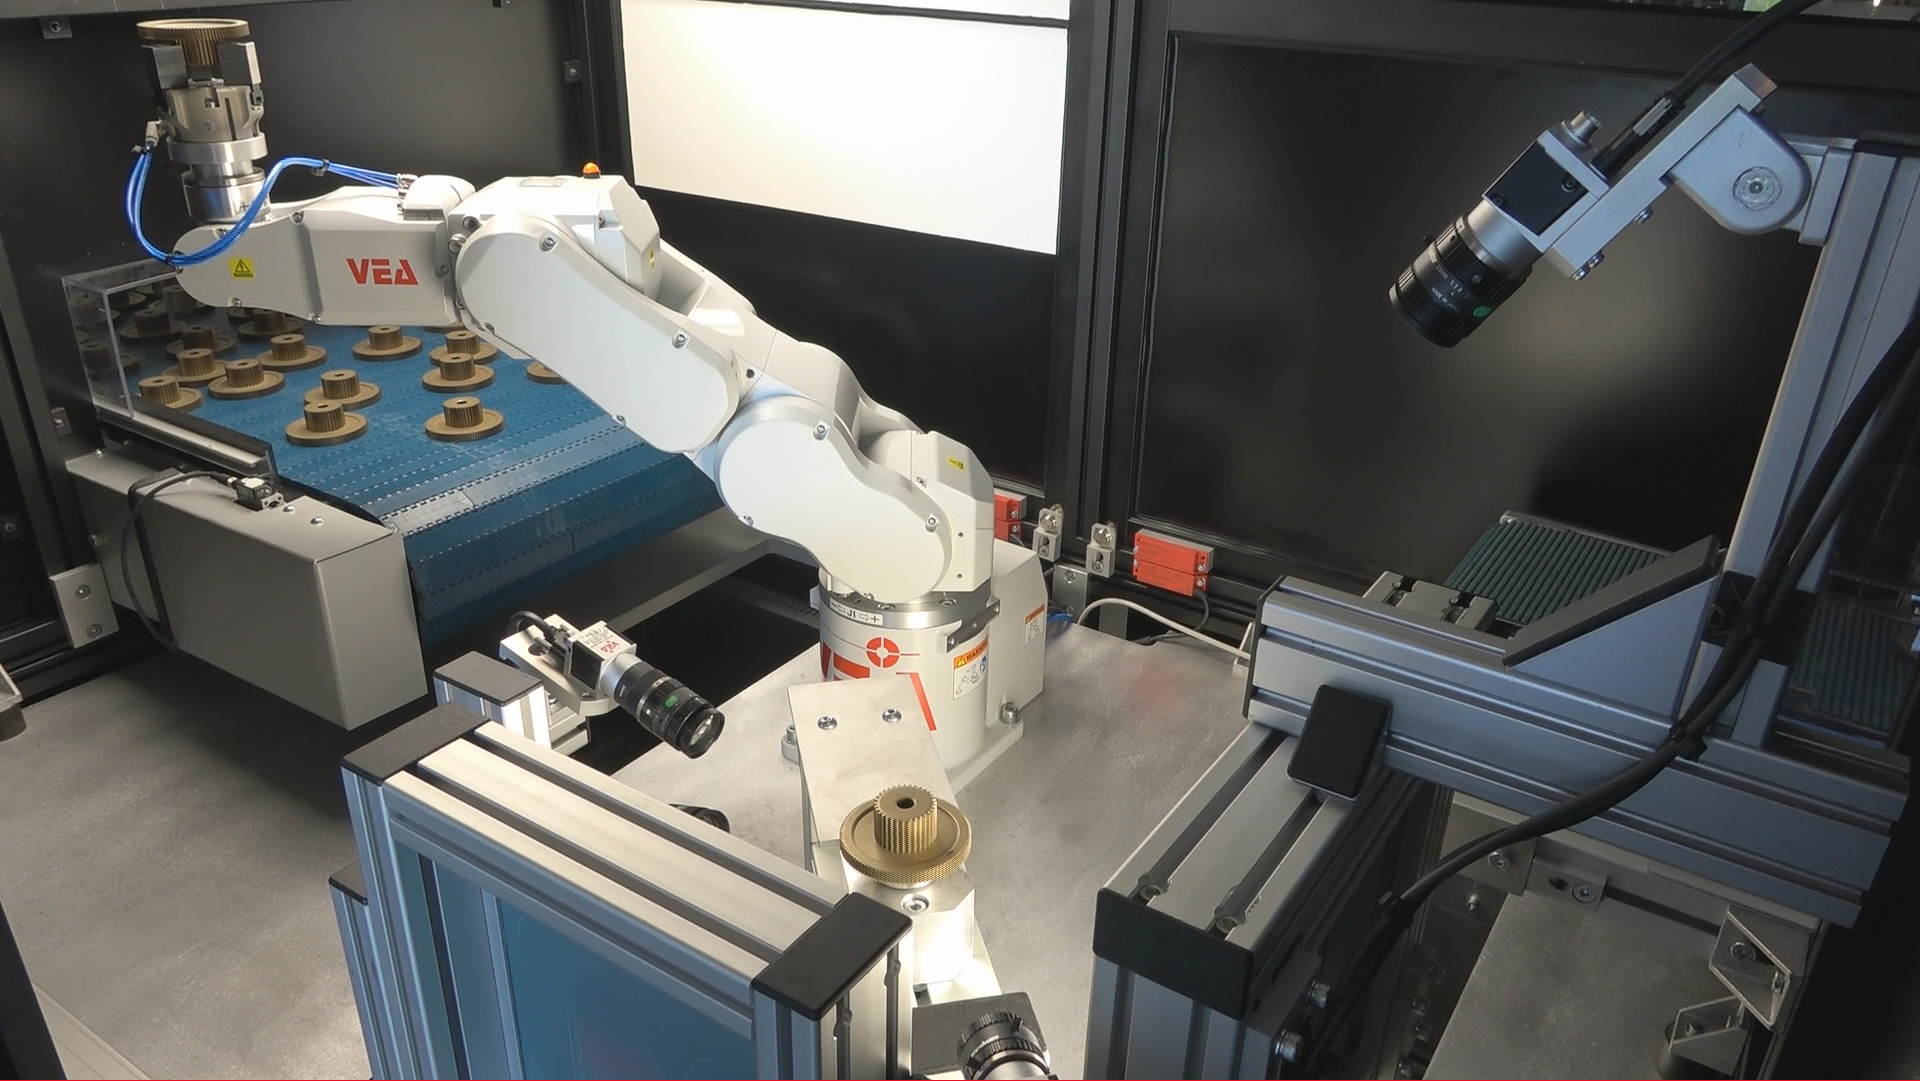
quality control system on sintered parts, crack control on teeth
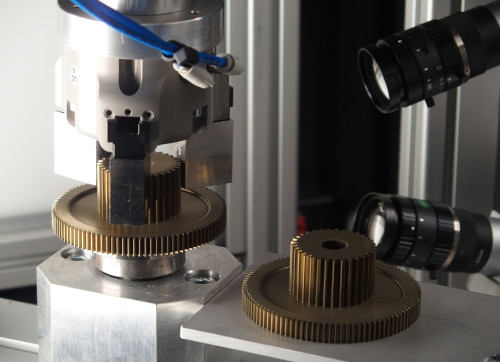
Automated plant with integrated vision system for handling, measuring and quality control of sintered parts. The system handles gripping from belt, inspection in robot gripper and detailed analysis on rotary table with four high-speed (150 fps) cameras, ensuring precision, efficiency and complete process automation.
Features of the vision system
Robot guide
A vision system guides an anthropomorphic robot in the precise handling of sintered parts. The system excels at 'bulk picking', identifying and picking components randomly arranged on a belt, eliminating the need for pre-positioning and increasing efficiency.
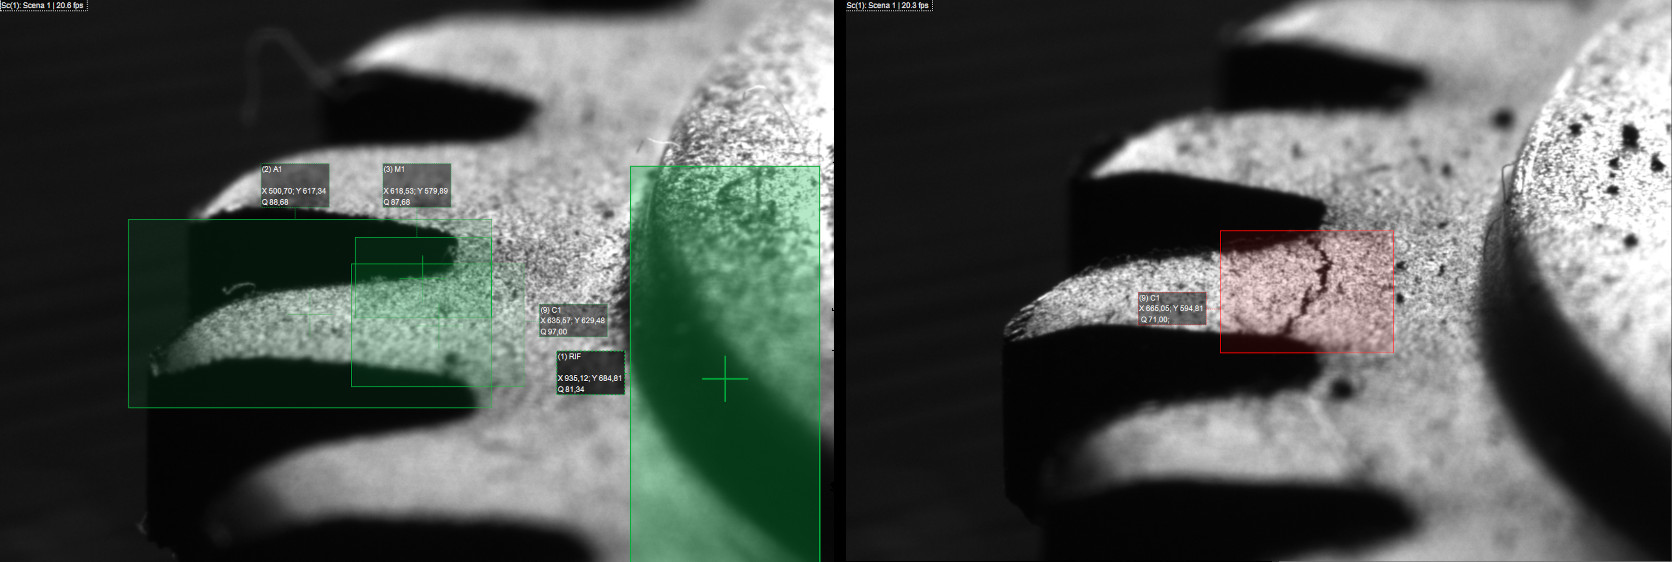
Checking cracks on teeth and other defects.
Quality control and measurement take place in an integrated two-stage process. Firstlythe part, freshly picked up and still in the robot gripper, undergoes a quick visual inspection for macroscopic defects. After this, the component is placed on a high-speed rotary table. The controlled rotation, combined with a four-camera vision system (150 fps), allows full multi-angle acquisition. Software processes the high-resolution images for detailed analysis: it identifies minor defects (e.g. cracks), measures critical geometric parameters and verifies dimensions to an accuracy of 0.1 mm, ensuring compliance with specifications. This automated process ensures quality control at 100%.
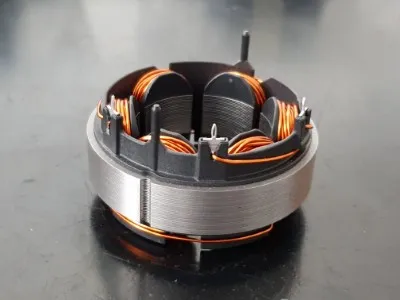
Features of the vision system
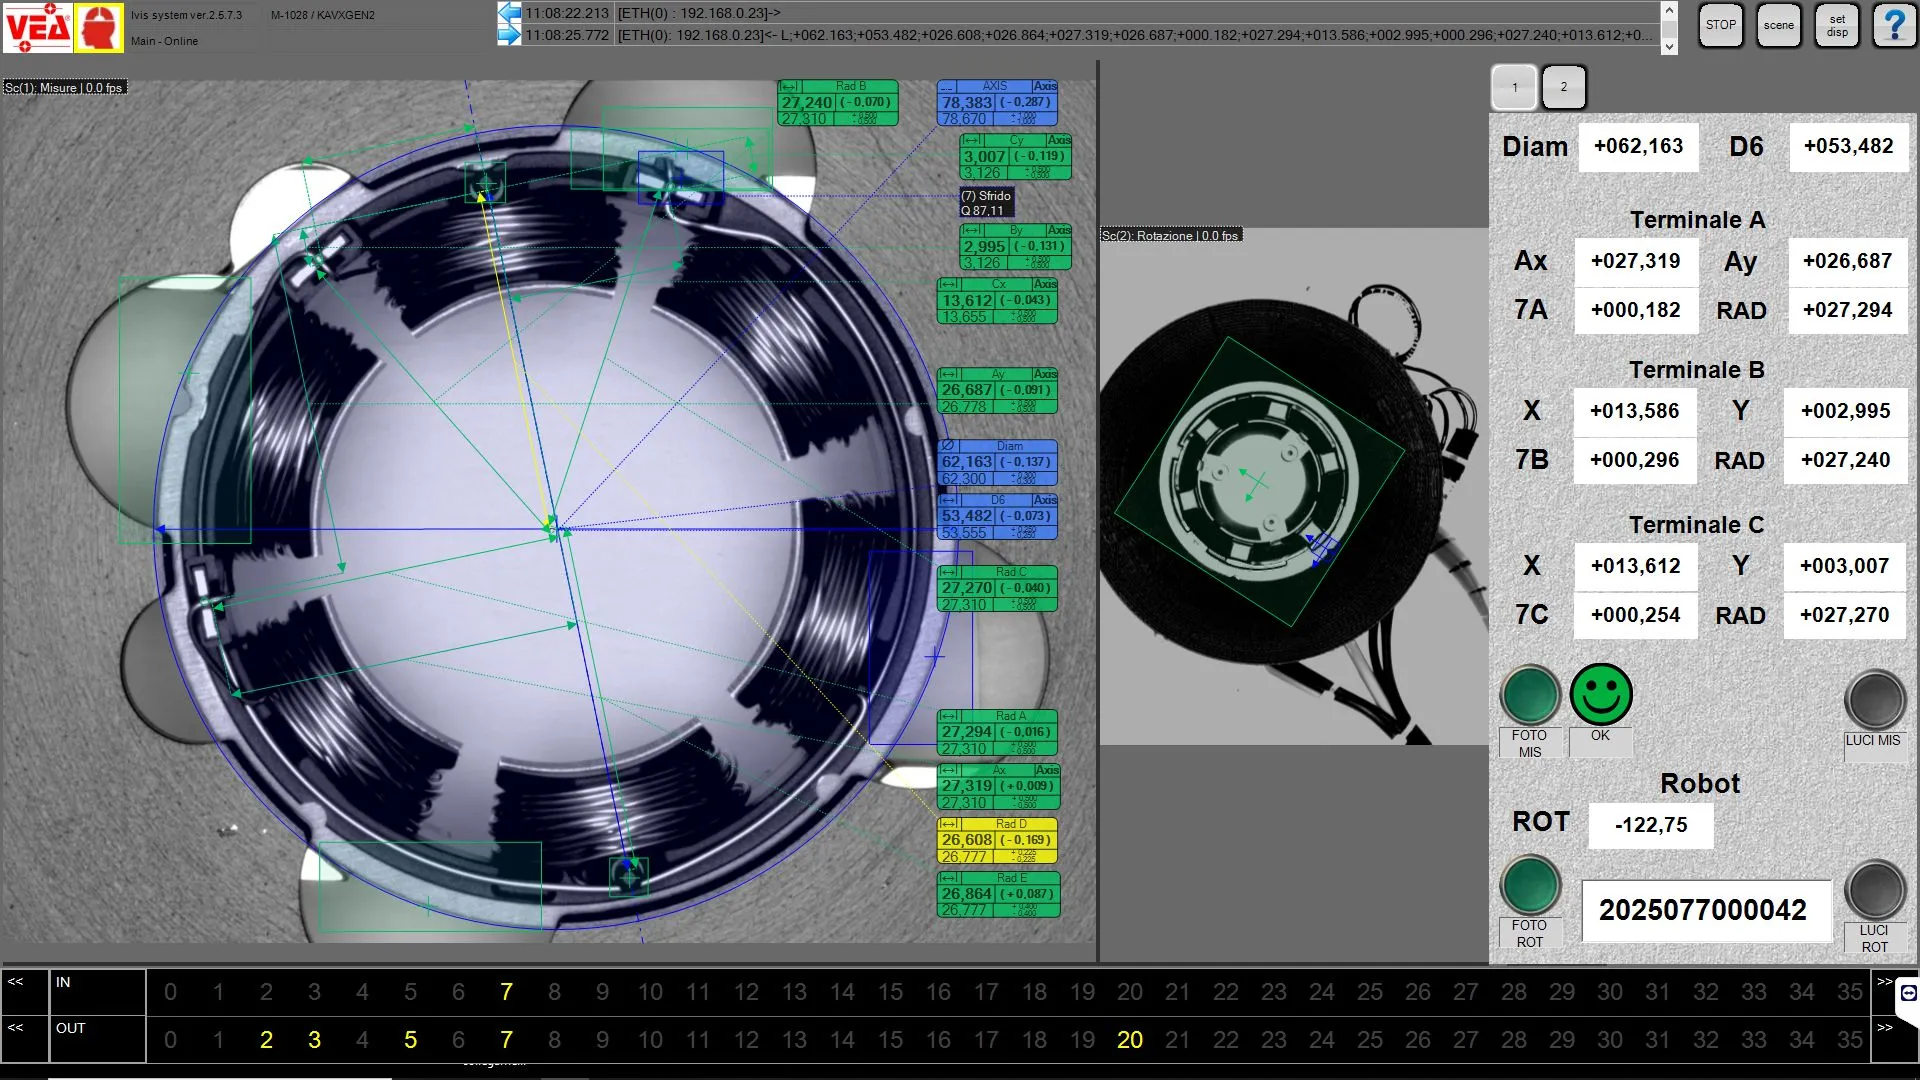
Robot guide for stator plate orientation
Before being loaded into the machine, the stator must be correctly oriented to an accuracy of tenths of a degree, a camera checks the part and corrects the orientation by transmitting the correction to the robot.
Stator measurement
Following the measurement specifications dictated by the customer, the system reconstructs the geometry required to detect the desired measurements, for each stator the measurements are checked, if the measurements are out of tolerance the part is rejected. In any case, the measured data is archived to allow traceability.
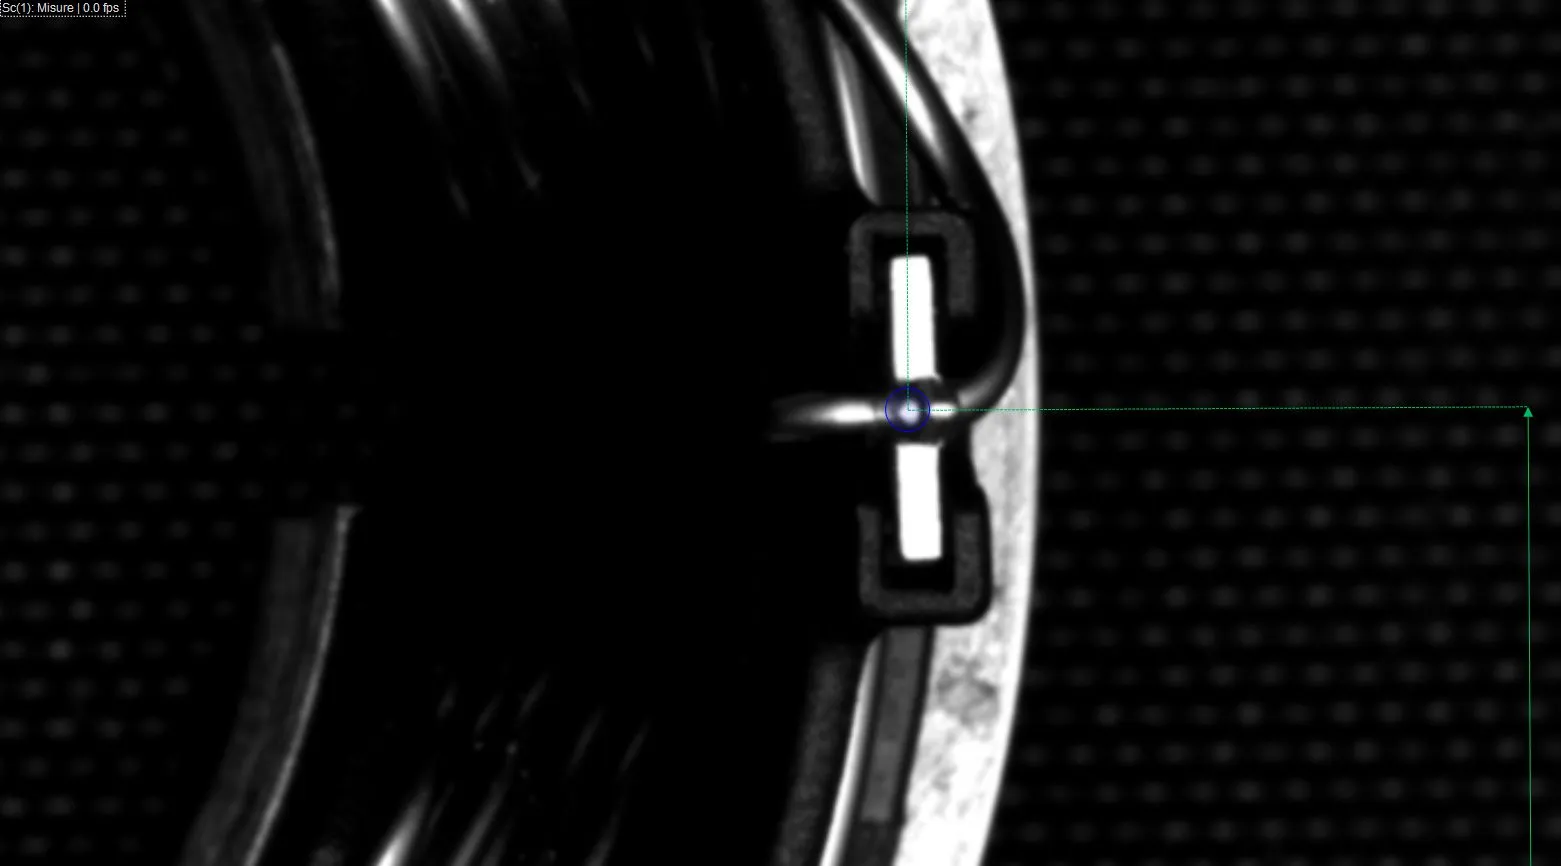
Quality control of stators
In addition to the measurements, there is a check for scrap in the product.
