- Quality control in PPM
- Surface analysis
- Micrometric 2D and 3D measurements
- Industry 4.0 READY
- No specialized operator
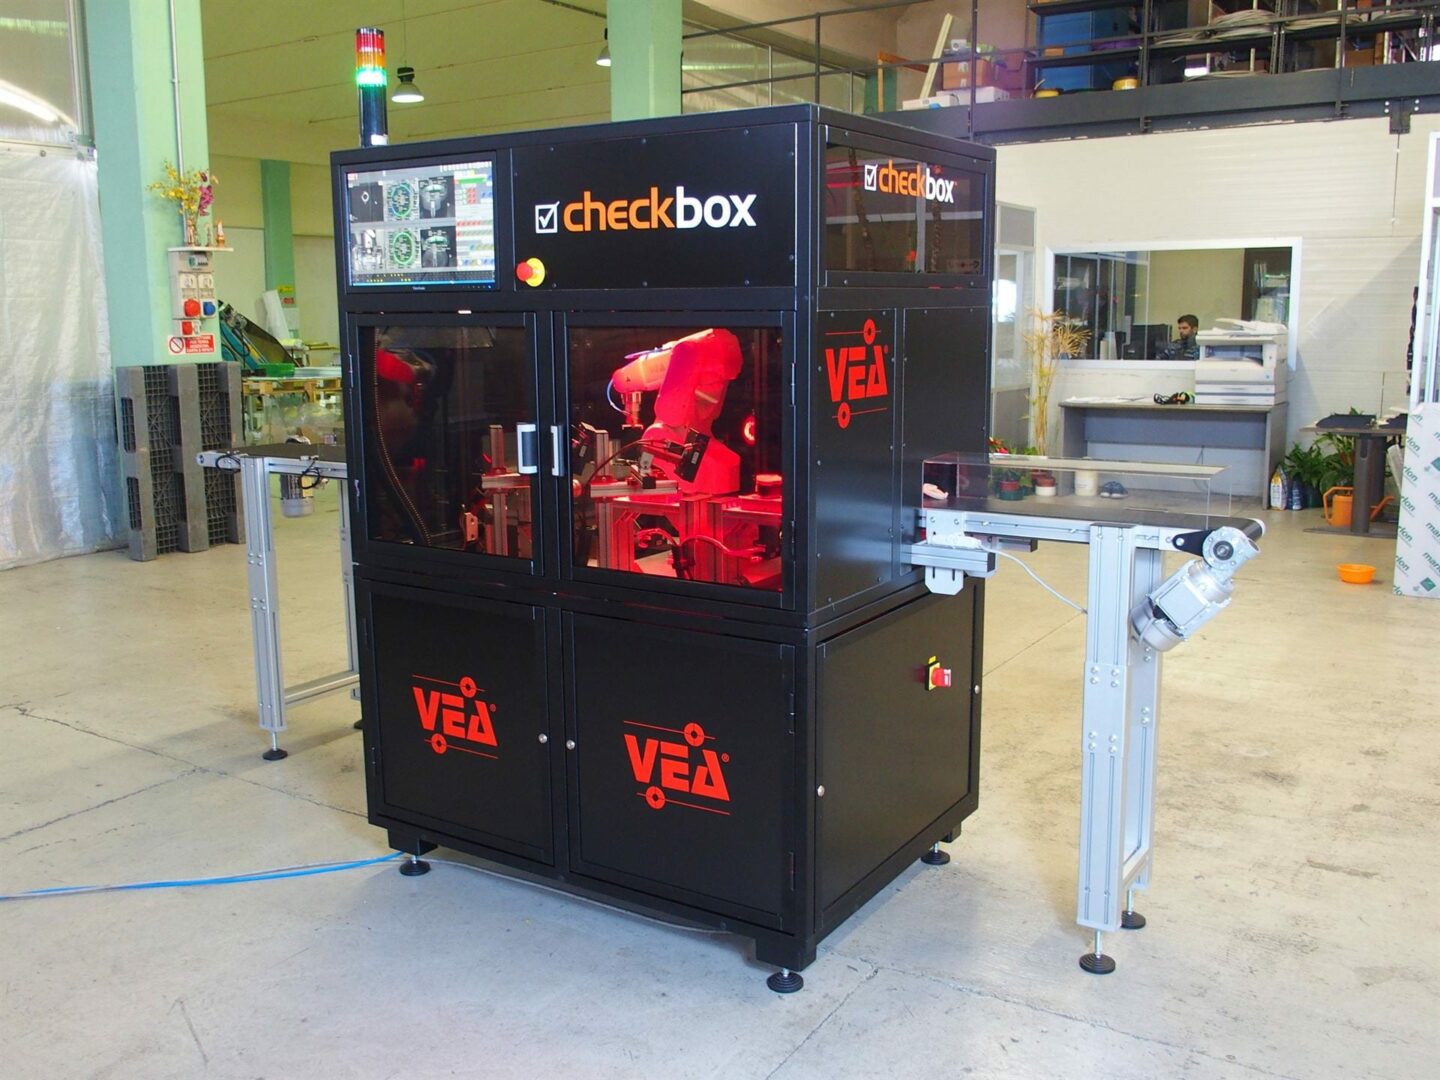
CheckBox: fast and reliable automatic machines for quality control and measurement
CheckBox is the series of machines for quality and dimensional control directly into the production environment with accuracies comparable to laboratory equipment.
These machines, using the latest generation of artificial vision systems and other technologies, allow to control over 5000 pcs/h "in process" or directly in the production line in a fully automatic way.
Anyone can perform simultaneously quality control and measurementAll are also customizable according to production needs.
THE 6 FUNDAMENTAL CHARACTERISTICS
Quality control in PPM
Multiple quality checks simultaneously, e.g. correct assembly, presence of defects, legibility of marks and lettering.
Surface analysis
Specifically developed algorithms can detect surface imperfections such as porosity, roughness, dents, cracks, stains, opacity, scratches.
Dimensional checks
Dimensional checks on radius, diameter, width, angle and distance.
Calculated tolerances: straightness, flatness, circularity, cylindricity, parallelism, orthogonality, inclination, symmetry, concentricity, radial and axial circular oscillation.Industry 4.0 Ready
All Checkboxes are already predisposed for interconnection with industrial processes as required by the "industry 4.0" guidelines which has the final objective of production optimization.
Does not require Operator
Within a production line, CheckBox works completely automatically and does not require the intervention of a specialized operator. Even the loading of a new "recipe", if no tooling is foreseen, can be performed automatically.
Data Matrix and OCV-OCR reading
You can read the codes printed on the part being inspected, save the image, and analyze the information it contains. These machines can also be equipped with a marking system to objectify the product.
INSPECTABLE MATERIALS
Die-casting
Sheet metal
Machined metals
Plastic
Electronics
Glass
CHECKBOX: the state of the art in quality control and measurement
CheckBox is the perfect tool for significantly reduce costs direct and indirect generated by lack of quality of production.
The quality control made with Checkbox is the ideal solution for companies of the future who rely on the quality of their products and they want to achieve a technology gap on their competitors through a simple and reliable tool.
Le CheckBoxes are easy to program and are able to perform analysis on any type of product.
After the initial setup, the inspection is fully automated.
In addition, the "full open" Checkbox structure allows the user to freely implement further checks.
CheckBox is one of tools for the most powerful and versatile quality control and measurement on the market.
CheckBox can be equipped with optical micrometers VEA which can run up to 256 measurements at a time e 512 checks quality or surface analysis with a speed of 200 photos per second
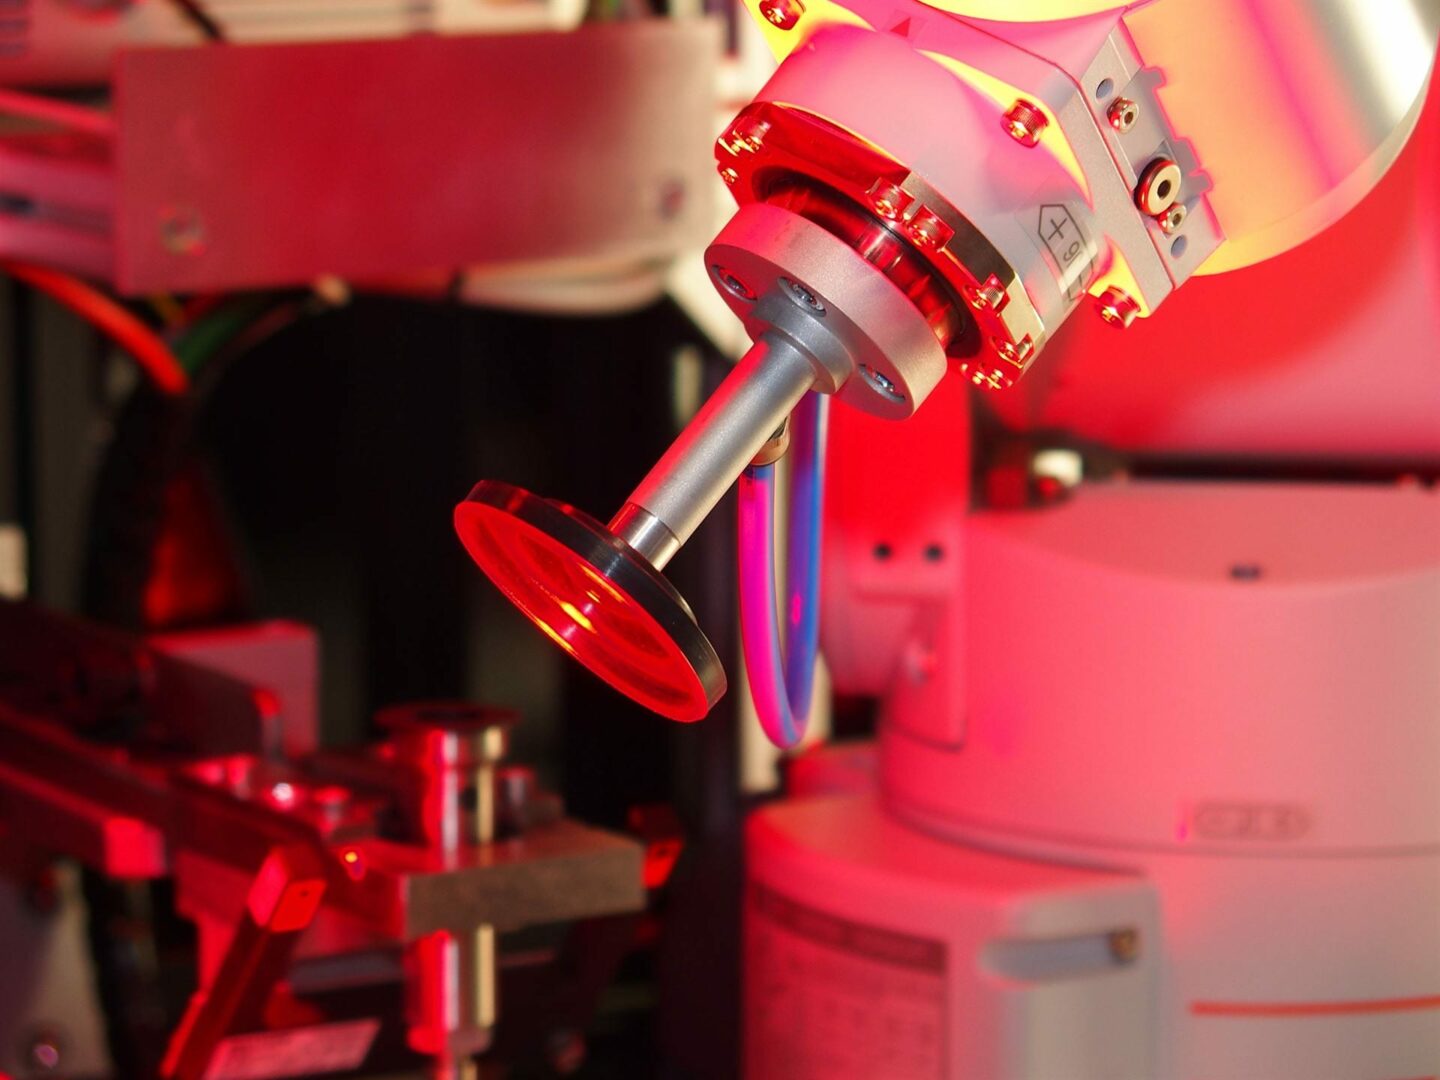
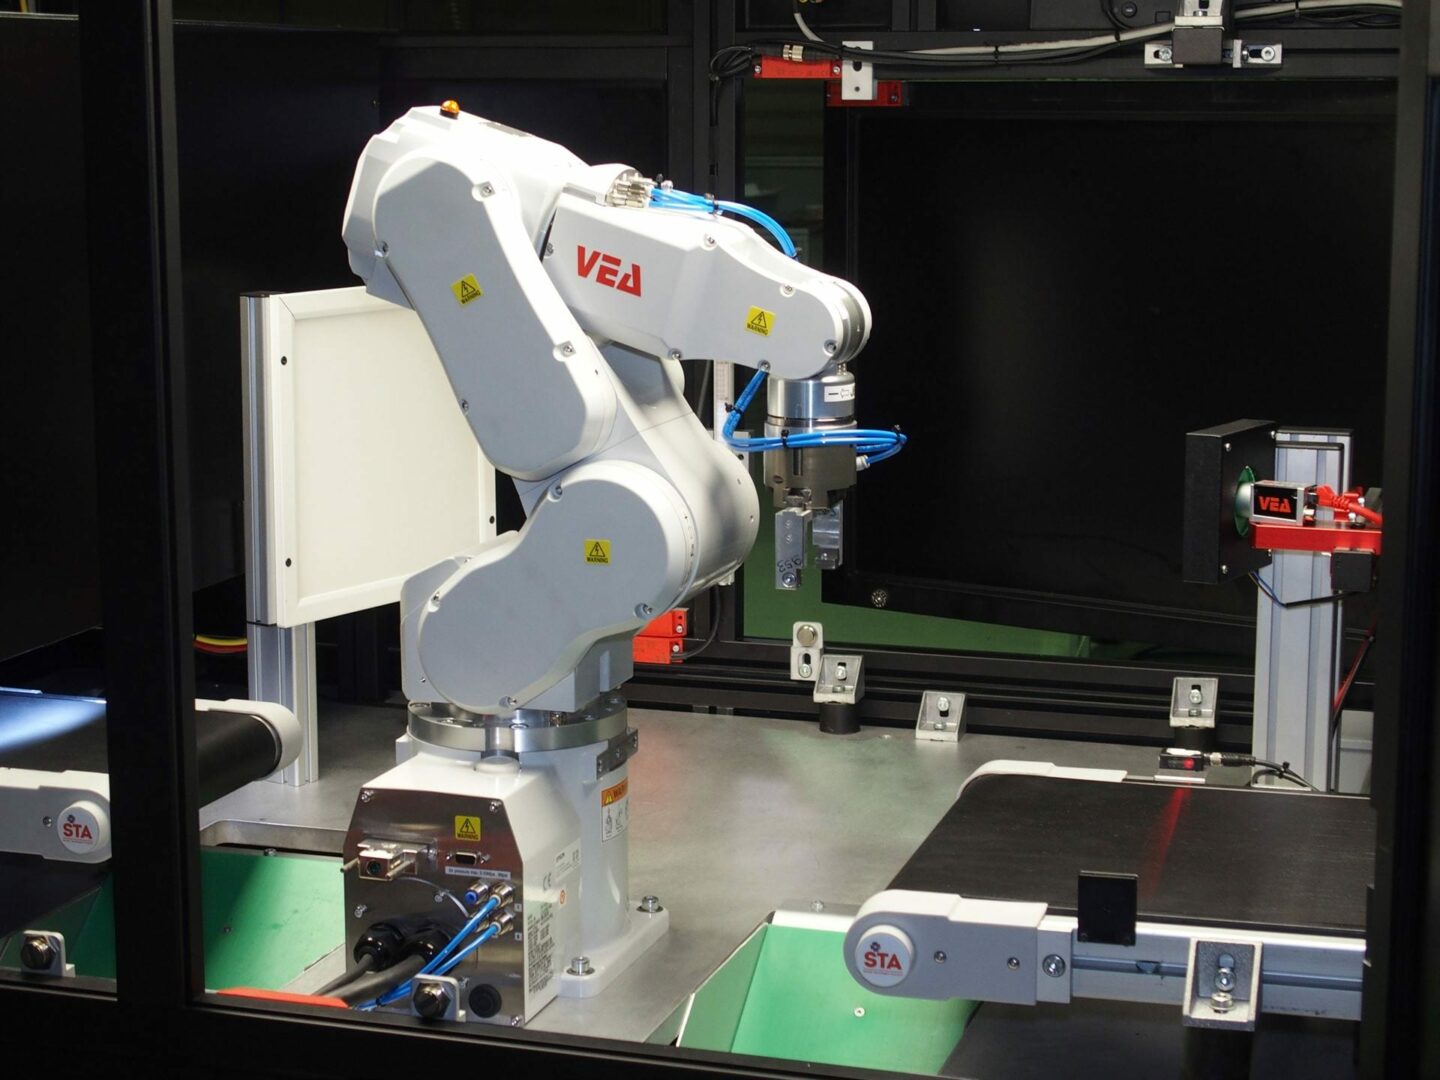
for example CheckBox Robot is designed to be a flexible and customizable machinery by means of the anthropomorphic robot which is adapted to the inspection of completely different parts.
CheckBox is a born quality control for our most demanding customers who produce parts with a time schedule of even a few months.
Machines CheckBox fully comply with the specifications "industry 4.0".
EVERYTHING UNDER CONTROL WITH CHECKBOX
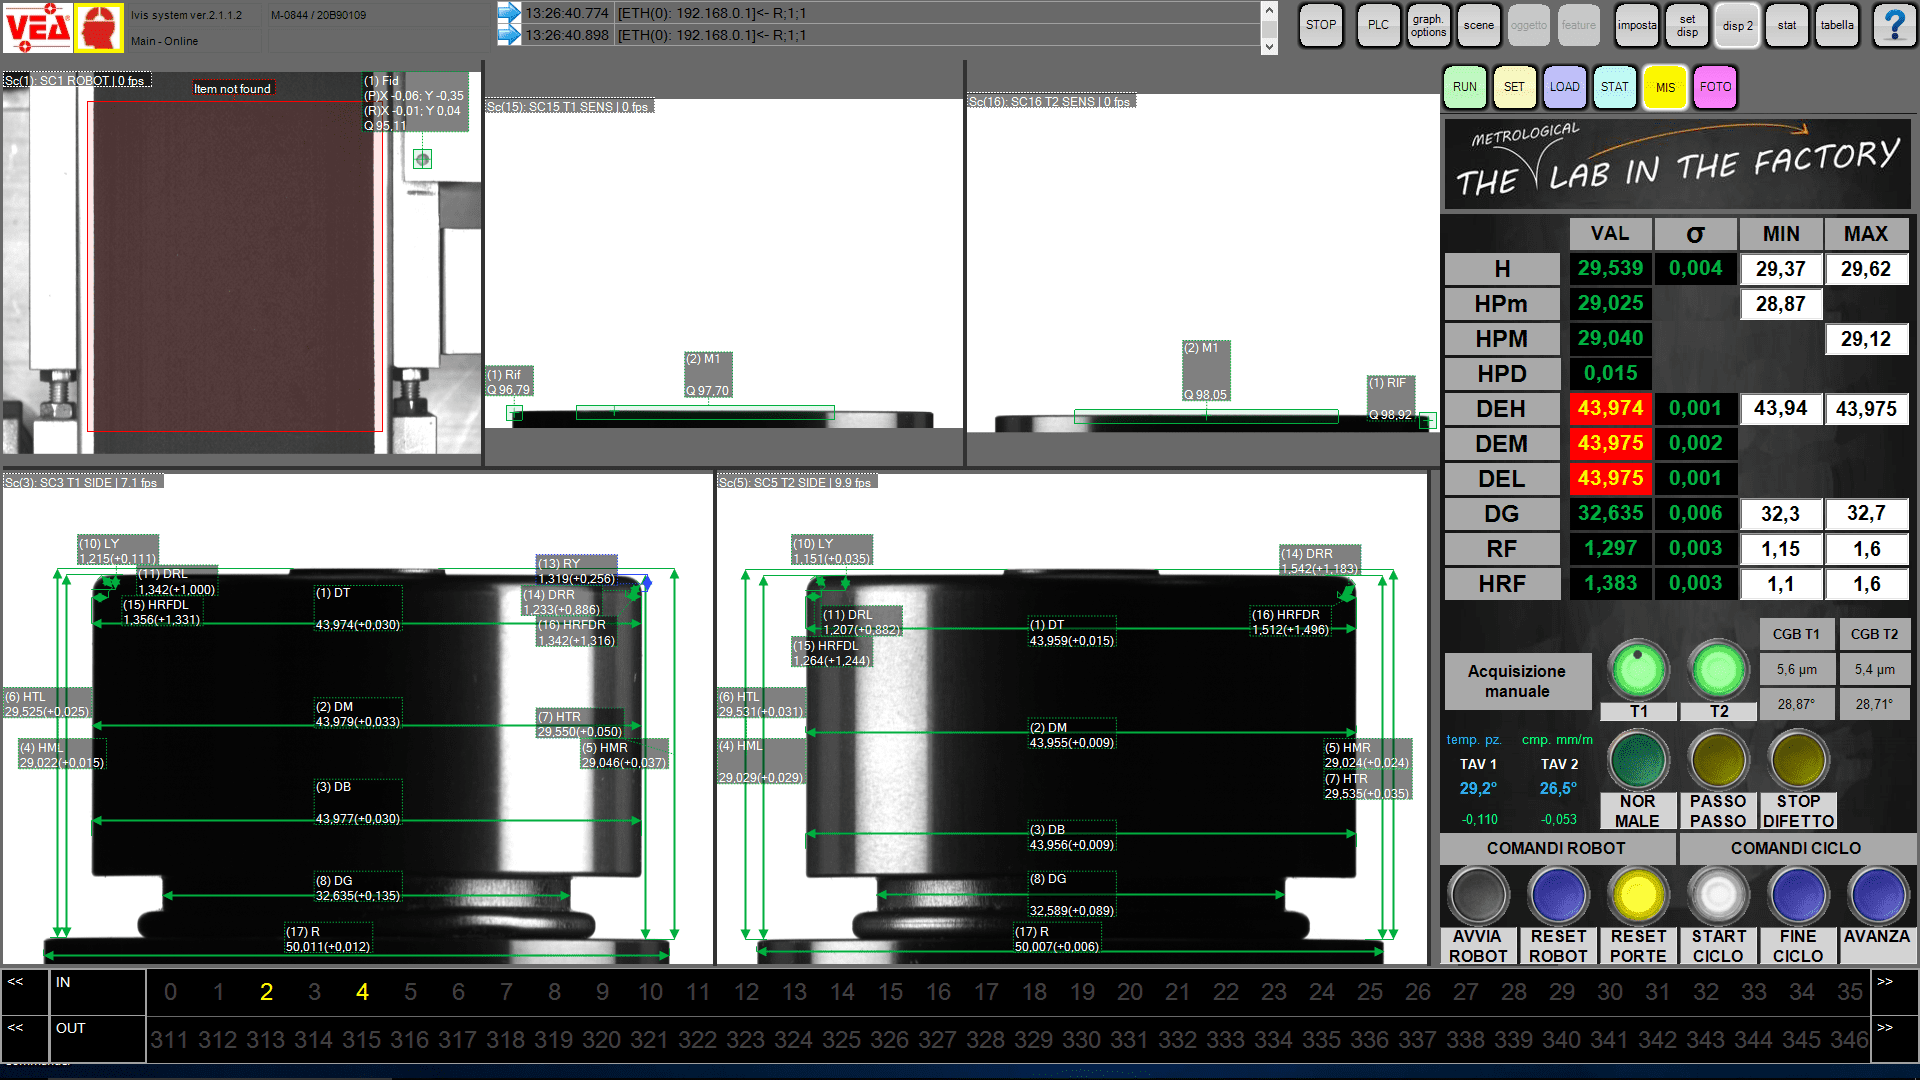
Example here beside HMI (operator panel) during the measurement and analysis of surfaces in real time of a round piece.
For lInspection and measurement of circular parts are implemented high performance and fast rotary tables that offer the possibility to perform Parallel 360° checks and measurements of the part by optimizing analysis cycle times.
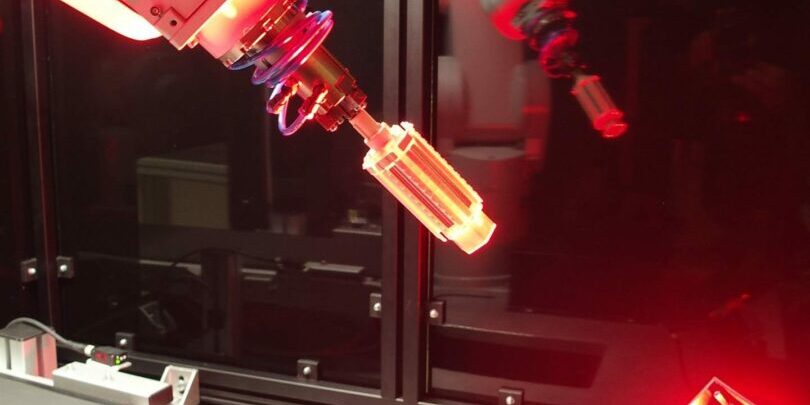
The selection manufacturing takes place directly in the Checkbox after the analysis of the pieces.
The products that result OK, they're coming out of the machine, whereas i NG (No Good) are stored in internal boxes at CheckBox can only be inspected by authorized personnel.
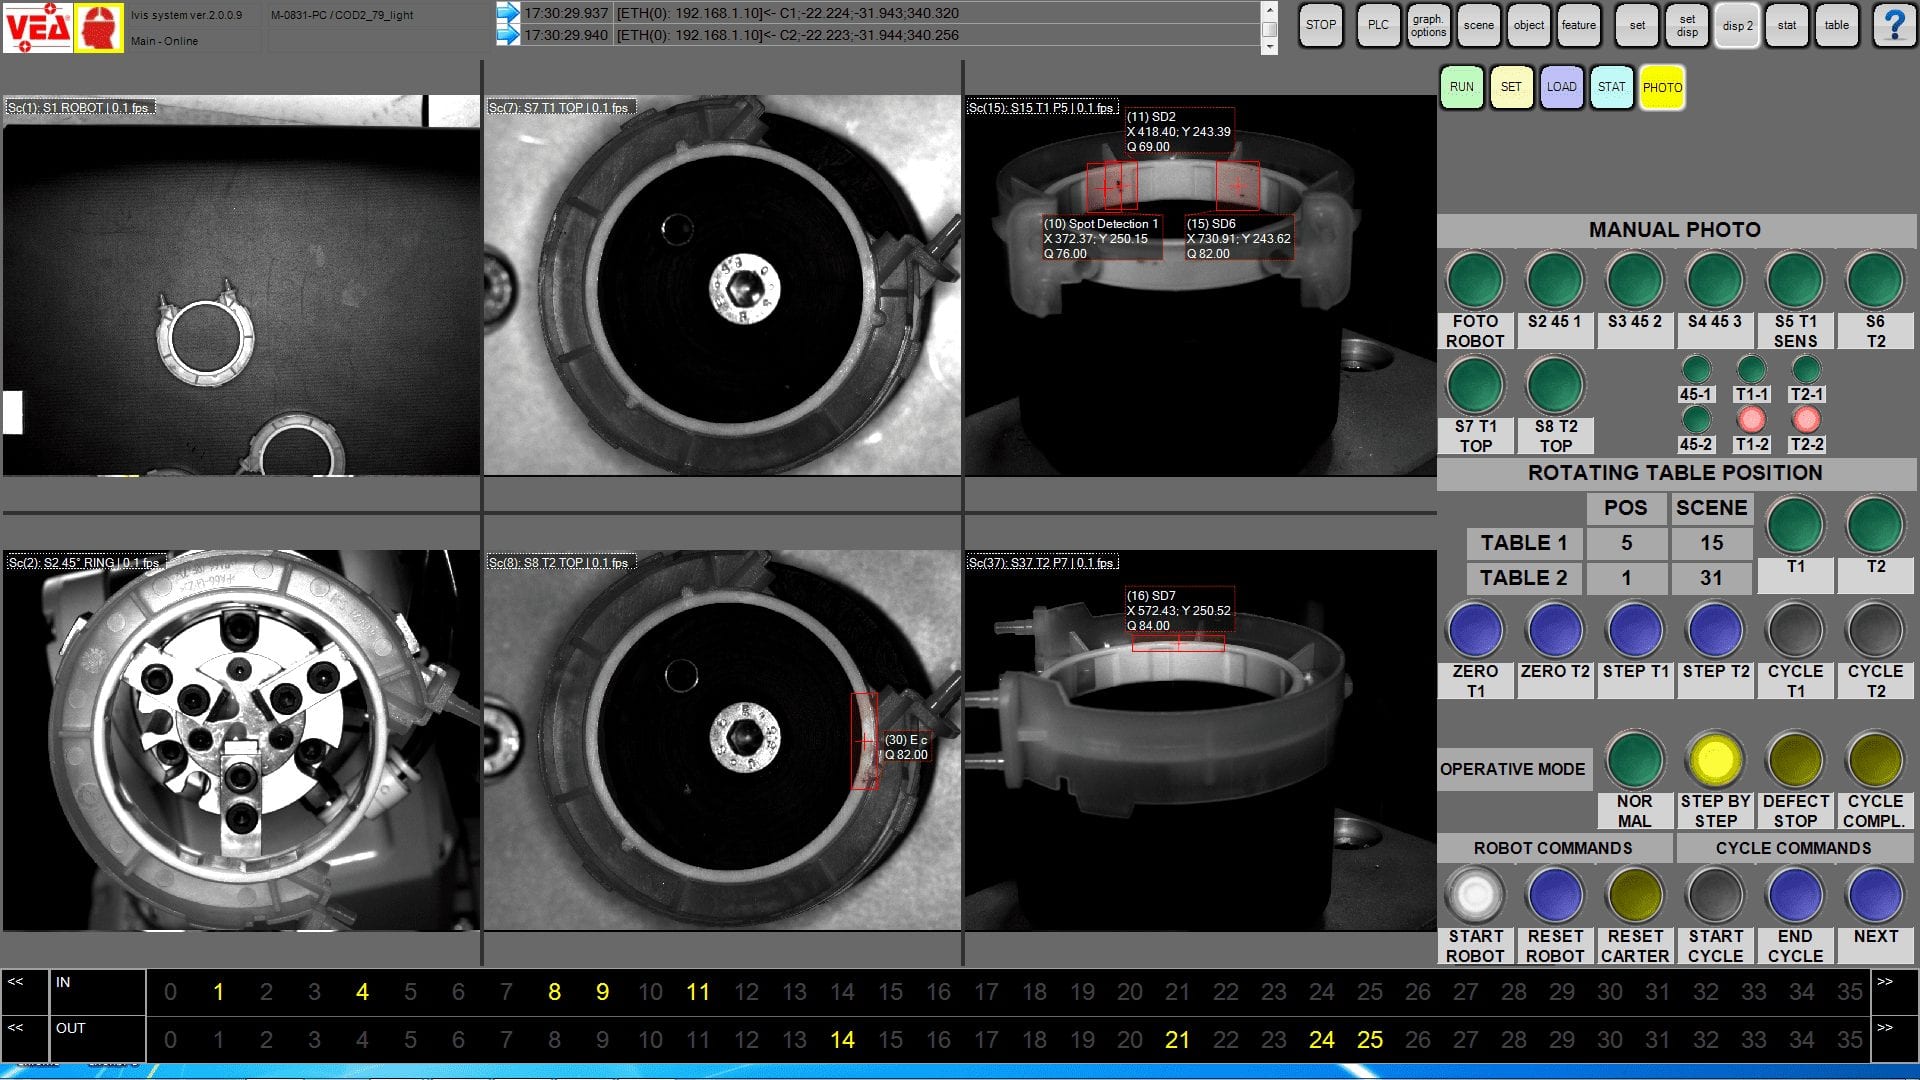
Thanks to the machine vision system developed by VEA, the Checkboxes are able to provide a estimation of false negatives and false positivesby acting on adaptive acceptability thresholds and making the number of rejects and the quantity of suitable parts stable.

Machines CheckBox can measure parts of any size. Thanks to our stringent metrological method, the CheckBox bigger it can measure glowing railway axles over 5 m long with an accuracy of ±1 mm and a repeatability of 0.5 mm, while the most accurate one manages to measure and inspect the detectors of particles at Cern ALICE LHC with ±0.2 µm accuracy and 0.05 µm repeatability
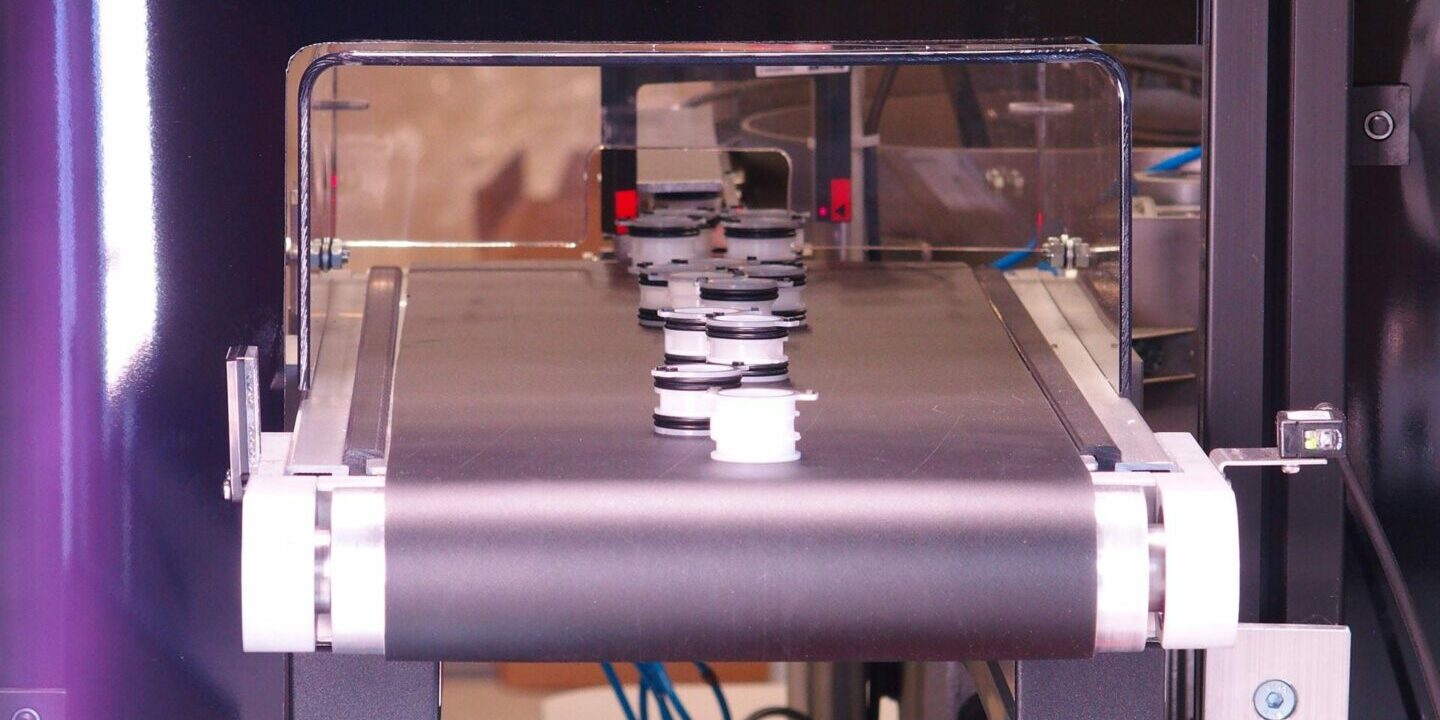
The CheckBoxes are also designed for mechanical or laser marking of parts and prepared for semi-automatic packaging. Finally, on all the analyzed parts it is possible to manage the history of the analysed images and the generated statistical data.
MODELS AND GENERAL FEATURES
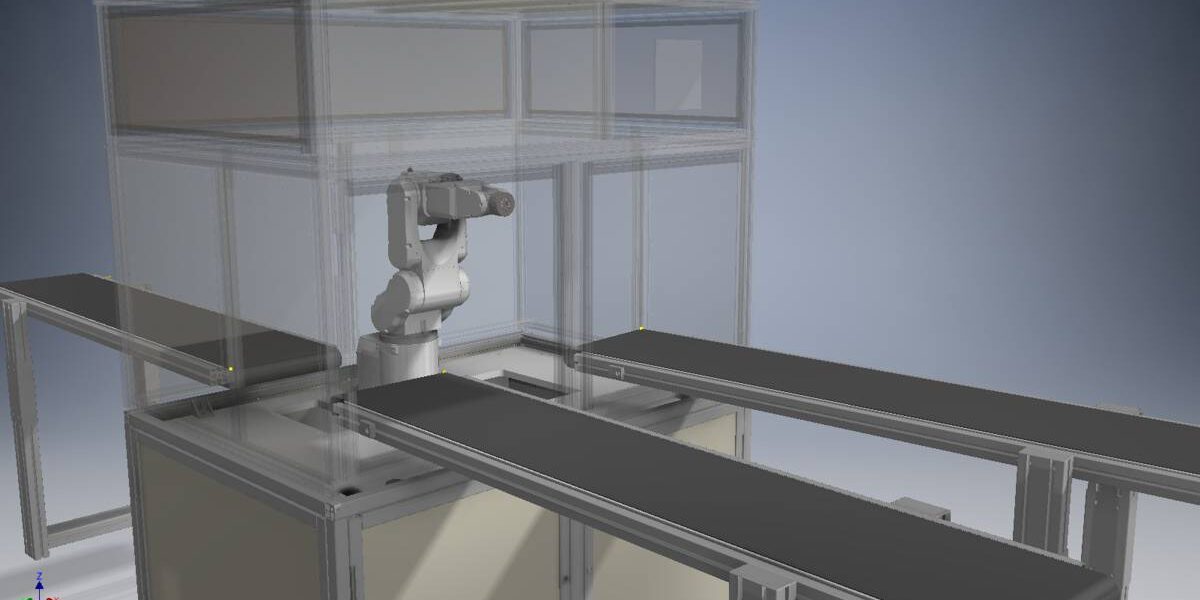
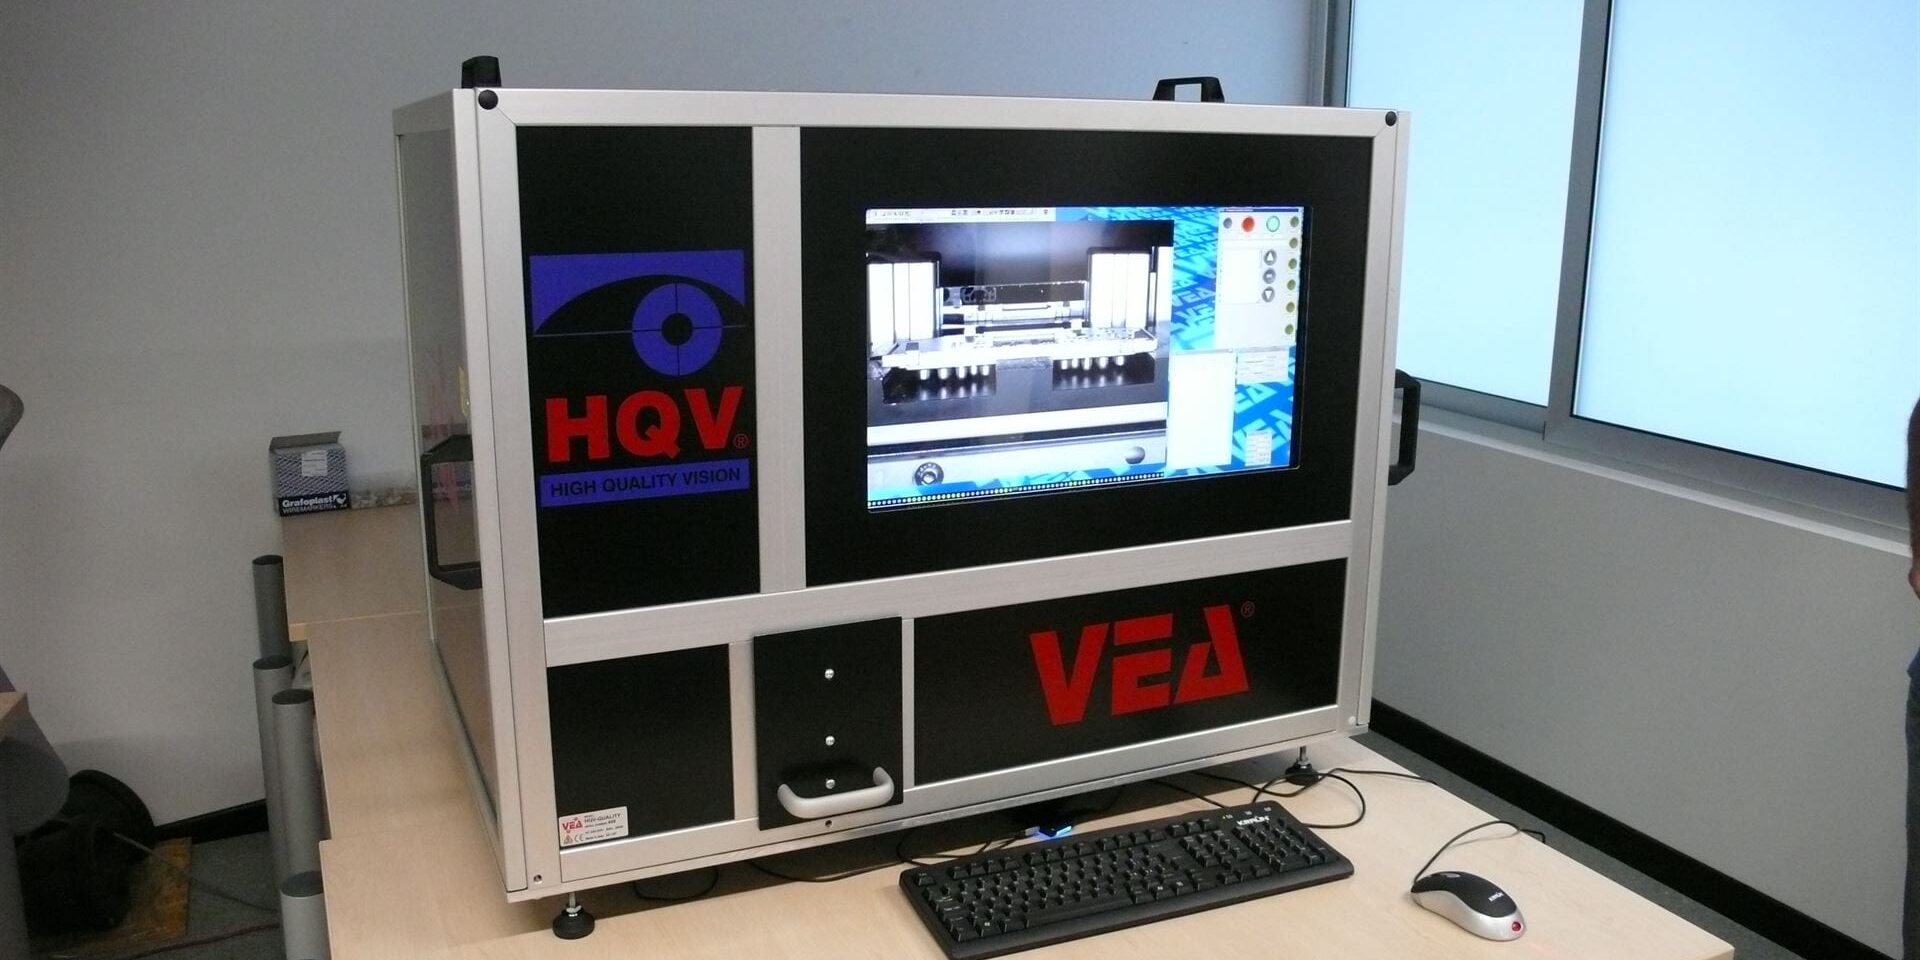
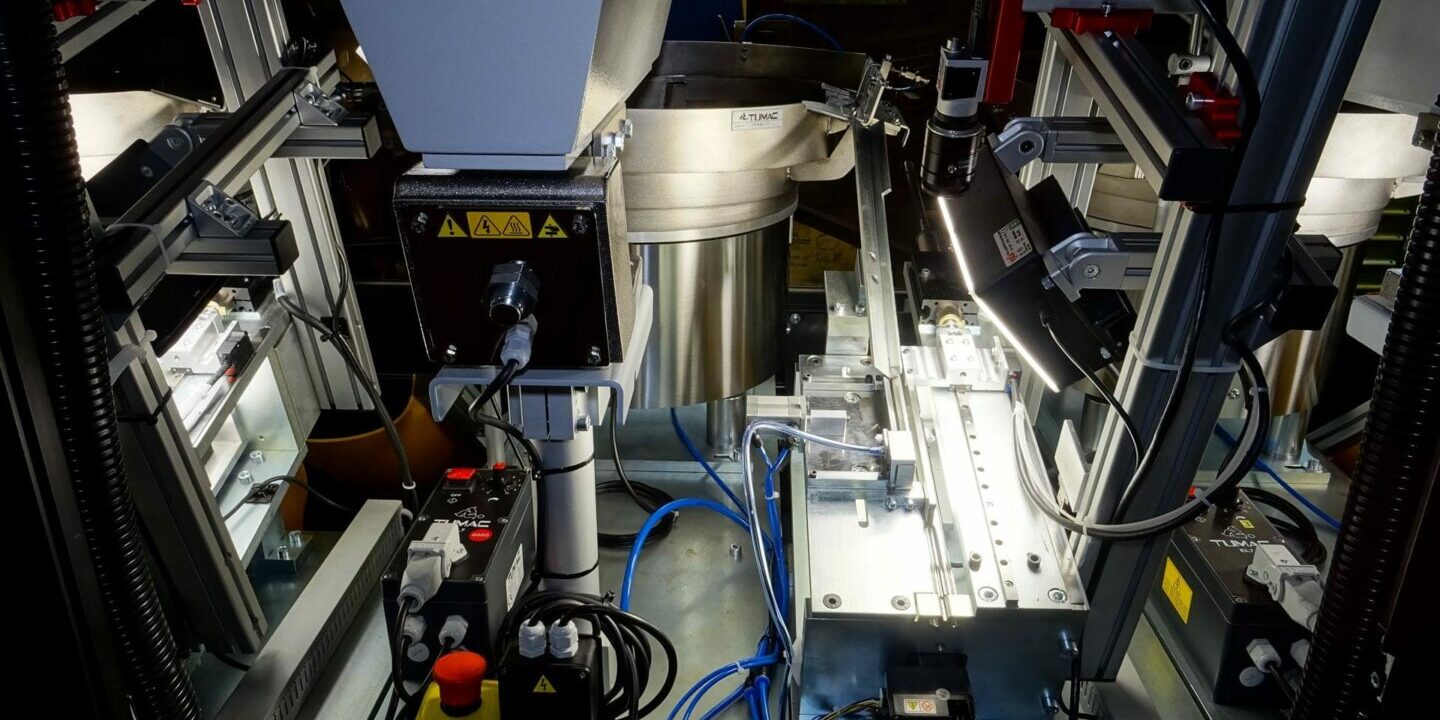
The speed of analysis and quality control of CheckBoxes depends on several factors, one of which is the number of positions that the part to be checked must assume together with its physical characteristics. This is why CheckBox Robot, for example, is designed to be a customizable machine with an anthropomorphic arm size suitable for the parts to be inspected, as well as the same dimensions as the CheckBox.
| Maximum output [pieces/hour] | 2000 | 1500 | 1200 | 1000 | 900 | 800 | 650 | 550 | 480 |
There are different types of CheckBoxesso as to respond optimally to different needs of our customers. The Checkbox range is available in Robot, Mechanical, Bridge and Manual versions.
Robot is the most versatile CheckBox: modular and reconfigurable at the touch of a button. Mechanical is the series with the highest performance, analyzing 5000 pieces in one hour. Bridge works by inspecting directly on the production line, e.g. by rolling or extruding plastics and metals. ManualFinally, it finds application in small industrial production, metrology rooms and laboratories.
| Dimensions [mm]. | 1164 x 804 | 1314 x 934 | 1414 x 1034 | 1614 x 1234 |
| Maximum piece weight [kg] | 1 | 3 | 3 | 5 |
CHECKBOX MODELS
CheckBox Robot
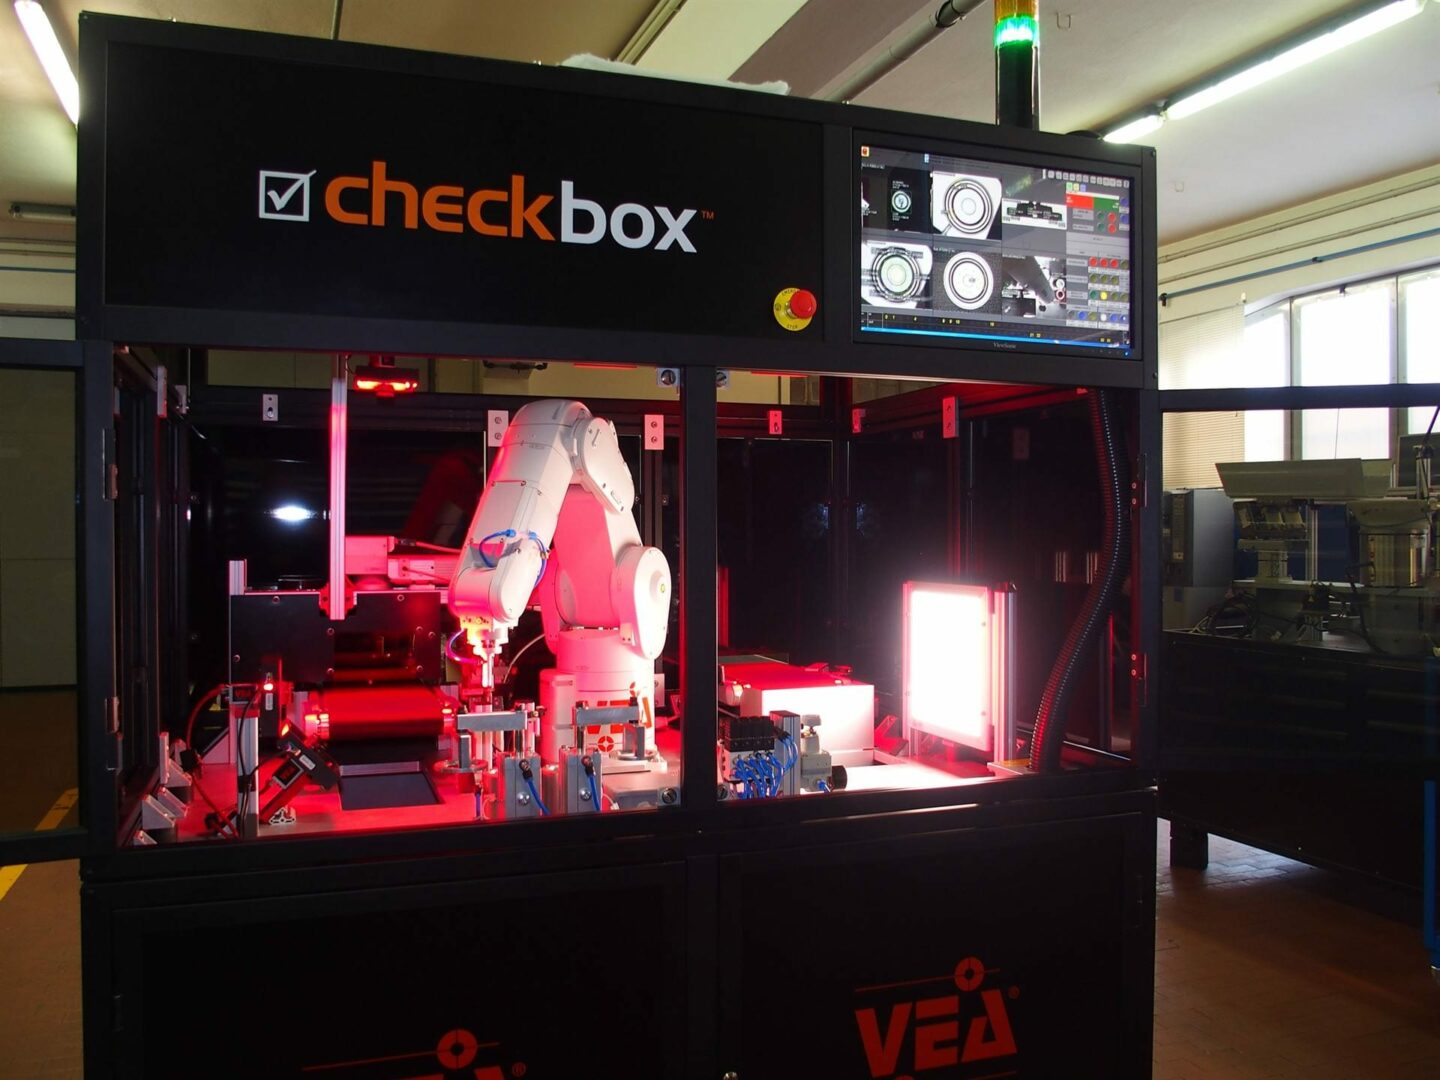
Quality control with Checkbox Robot
Vea's vision system is the heart of the Checkbox Robot and will guide the robotic arm into the gripping of the parts subjected to quality control, in whatever order or position they arrive, and then inspected as required. 128 different practicable positions, more than 1000 analyses per position, a total of more than 128 thousand checks per possible piece.
Up to five conveyor belts and one or more robots can be installed in the Checkbox. In addition to a multi-chamber vision system, it can also equip laser markers, durometers, ultrasonic crack detectors, leak tests, paint thickness gauges and other instruments on request.
Checkbox Robot is one of the most powerful and versatile quality control and measurement tools on the market..
CheckBox Mechanical
Quality control with Checkbox Mechanical
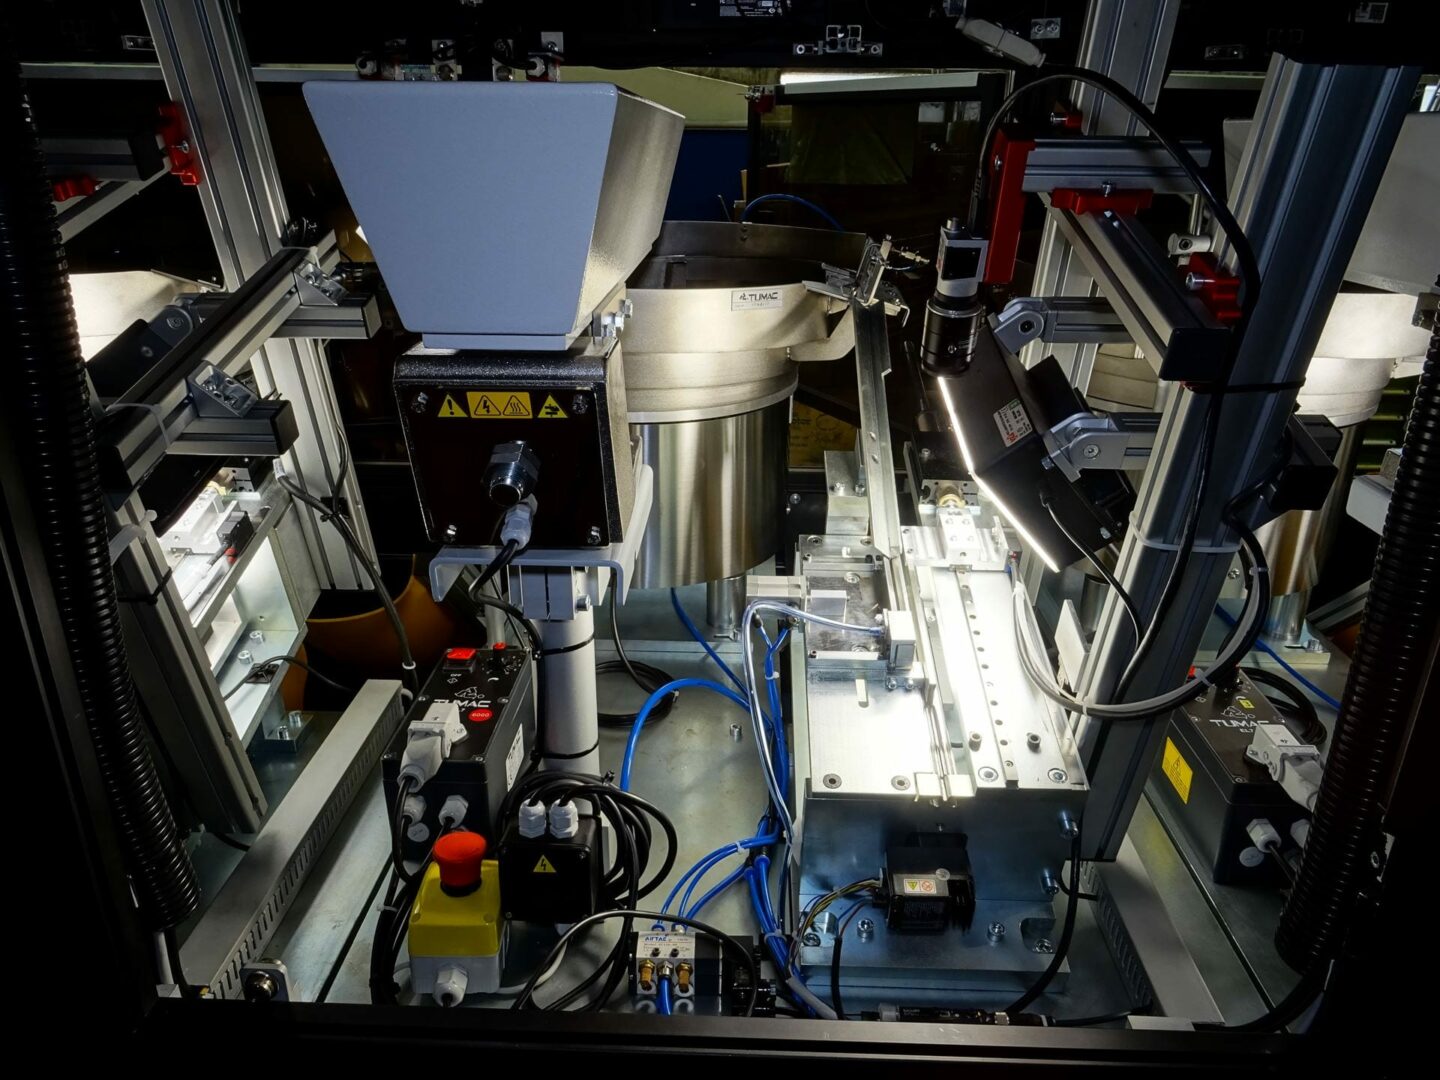
Thanks to the design of mechanical handling systems of the parts and their combination with the latest measurement and control technologies, the Mechanical series is the one with the greater capacity for hourly analysis among those produced by VEA. These are unique machines, able to analyze over 5000 pieces per hour, designed to meet the most demanding production requirements. Also this type of Checkbox can be developed customer-specific.
The Mechanical series, for example, is used to perform measurements on turned or cylindrical parts of any material by optical micrometers. The measurement is performed by analyzing internal and external diameters and geometric tolerances such as circularity, concentricity, radial or axial circular oscillation. And not only that, Checkbox is able to perform the quality control simultaneously with measurement.
CheckBox Bridge
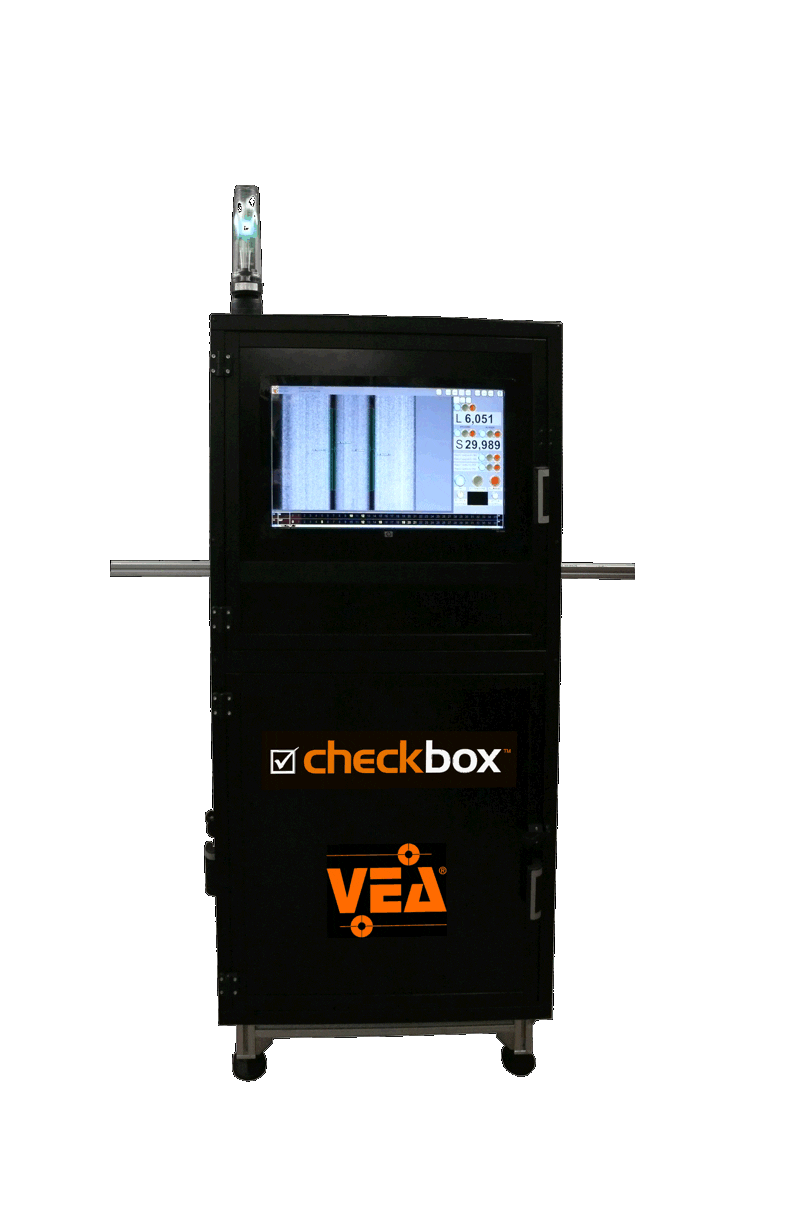
Checkbox Bridge: automation of quality control
CheckBox Bridge is the control system that can be directly placed on the production lines. The installation of CheckBox Bridge is simple and does not require any particular modification of the existing line. CheckBox Bridge is the ideal machine for performing quality controls on pieces produced in continuous, such as plastic materials or metals subject to extrusion or rolling. It can also be used on lines with parts moving on conveyor belts or on pallet lines. CheckBox Bridge can be equipped with automation for unloading defective parts. CheckBox Bridge can perform quality checks or measure parts with high precision. These systems take up very little space, less than one meter. The integrated vision system is able to detect defects and report them in real timeto optimize the quality of production and minimize the costs of quality failure.
CheckBox Manual
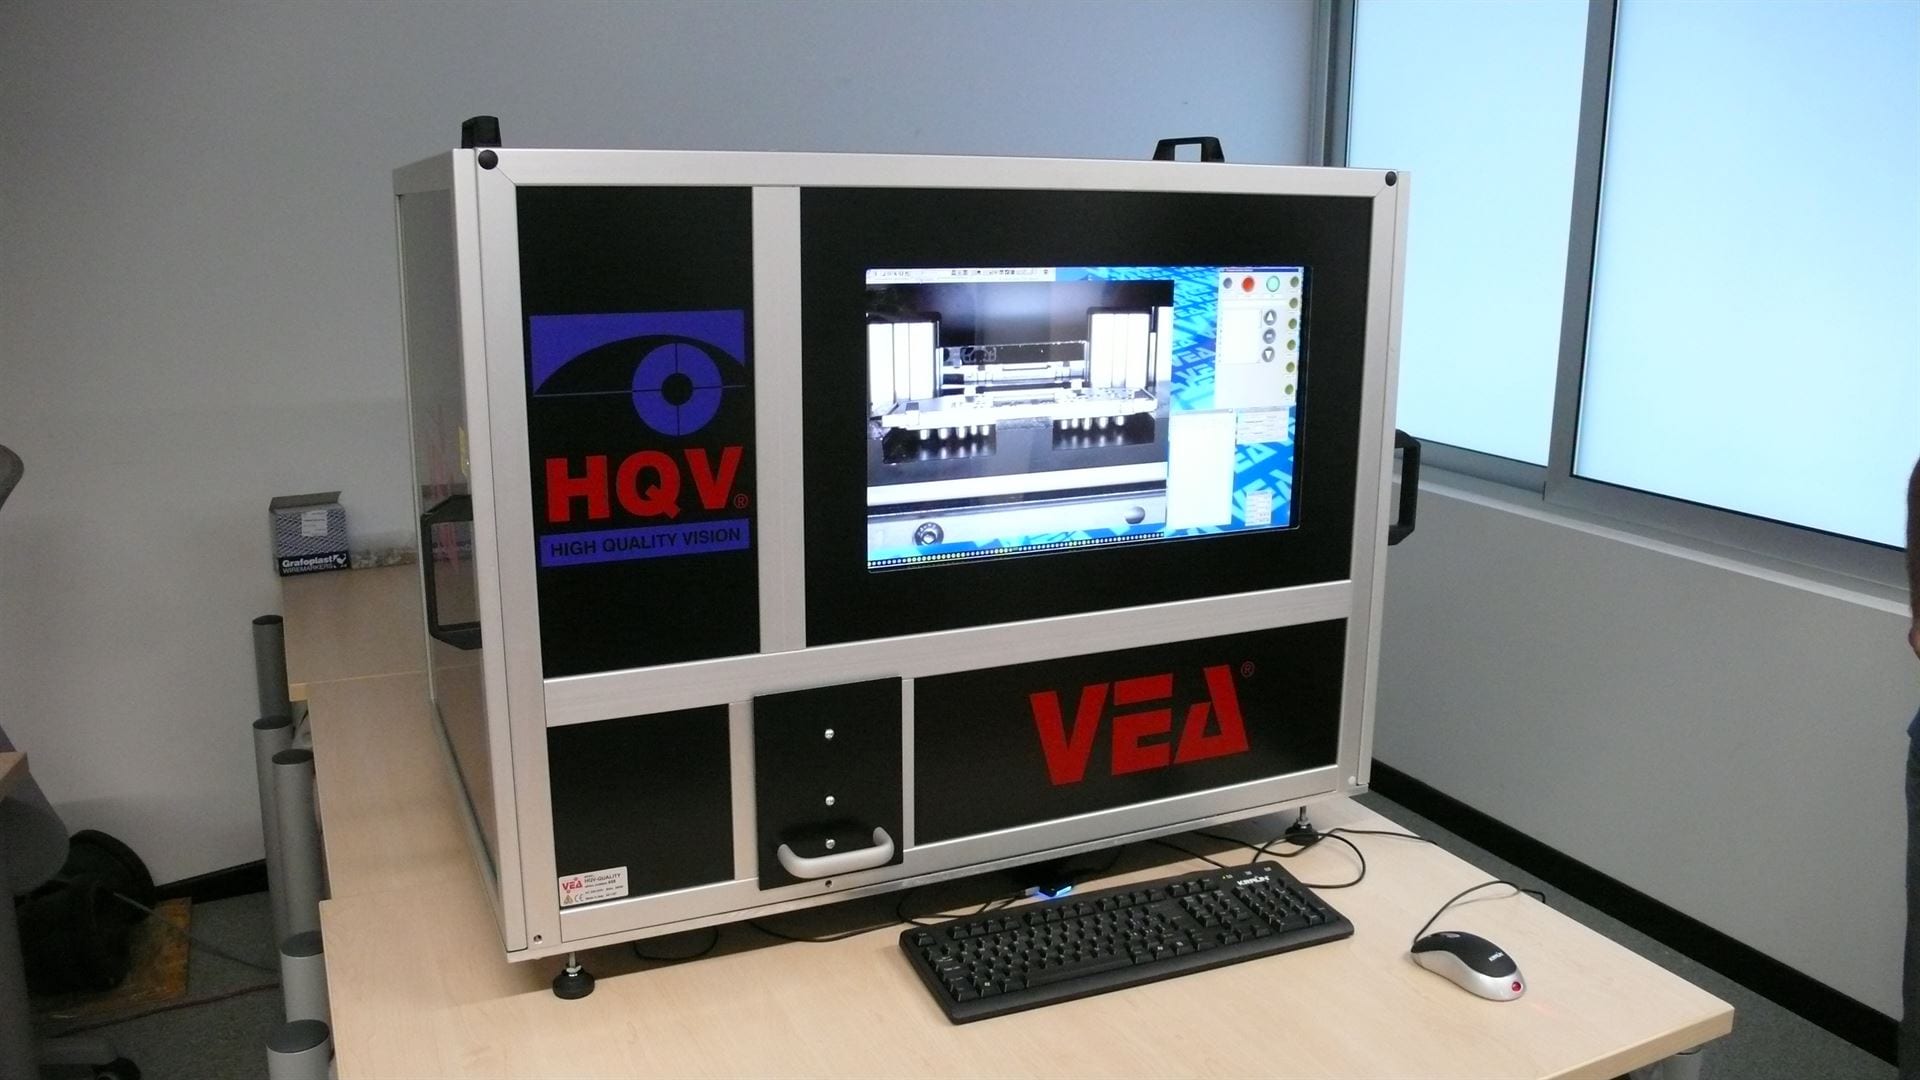
Manual: the smallest checkbox in the range
For quality controls that do not require high hourly production, Manual is the best choice. It allows you to analyse manually pieces in laboratories or in small industrial production: The technician will be able to scrutinise every detail of the individual piece and handle any problems.
