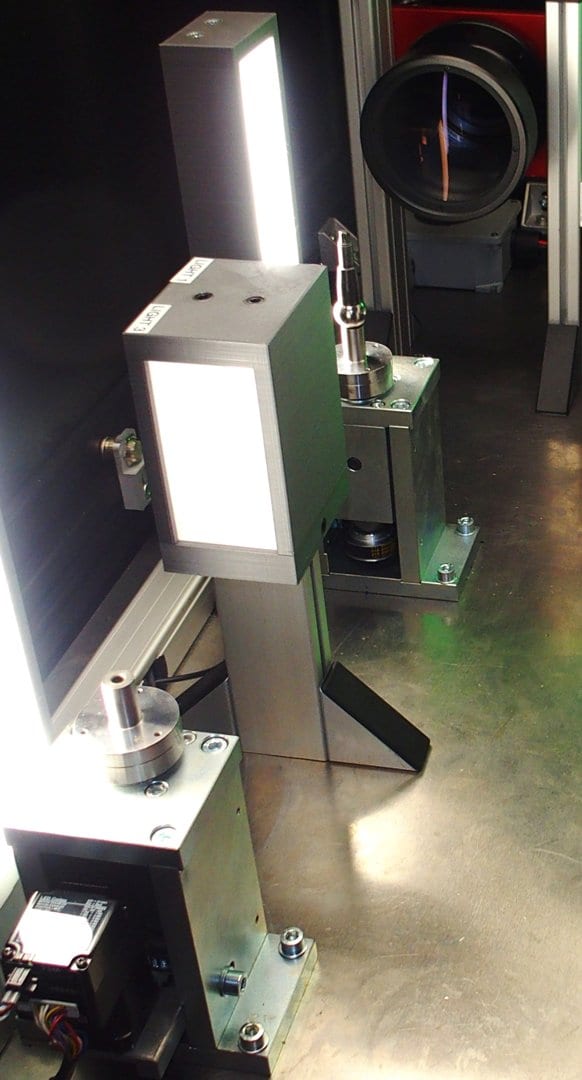
- 12000 images/minute and 512 measurements per image
- More than 270 models
- Real-time precision control
- Temperature and vibration compensation
- Submicrometric accuracy
HIGH PRECISION OPTICAL MICROMETERS WITH TEMPERATURE COMPENSATION FOR PRODUCTION ENVIRONMENTS
What is an optical micrometer and how does it work.
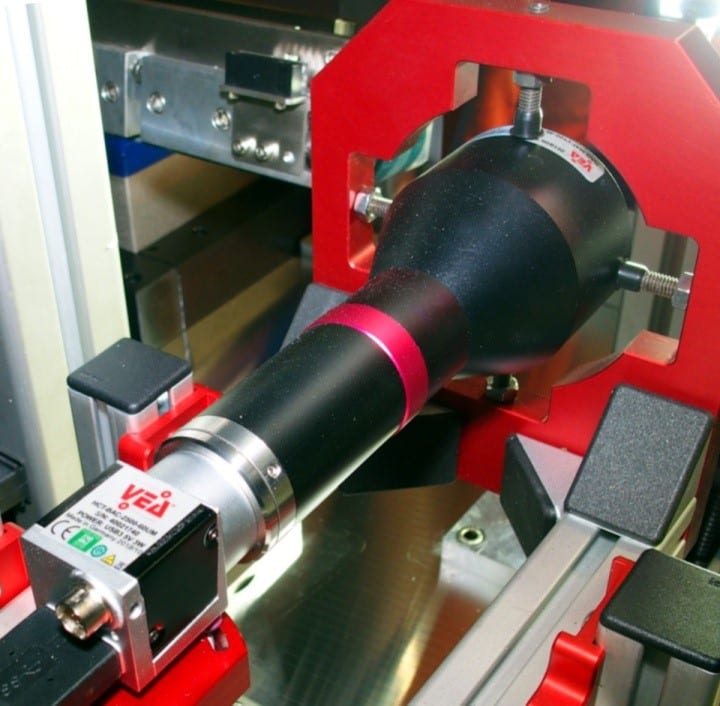
Optical micrometers use a high-speed CMOS sensor to measure distances, diameters, widths, positions, radii, and bevels directly on the production line. An optical micrometer allows continuous, real-time inspection of production parts. Optical micrometers are composed of a coaxial light emitter that generates an aligned light beam and a receiving unit consisting of a bitelecentric optics and a high resolution, fast scanning CMOS camera. When an object is interposed to the light beam, an image is generated in the receiver optical assembly that is perfectly proportioned to the original part. An optical micrometer with high-precision bitelecentric optics and advanced image processing software allows parts to be measured in a few tenths of a second with an accuracy of better than one micron. The optical micrometer is not subject to wear because it has no moving parts. Some optical micrometers can be equipped with software for quality control of the part surface. The speed, accuracy, robustness and reliability make the optical micrometer the ideal instrument for measuring thousands of parts per hour in an industrial environment.
With more than 270 models available, the VEA optical micrometer is the ideal solution to accurately measure 100% of parts directly in the production environment. These micrometers can simultaneously perform surface quality control.
The VEA optical micrometers can be mounted on any type of plant or production line without the risk of loss of precision, because they have a simplified calibration system that makes the pre-calibrated support that joins the optical unit to the illuminator superfluous.
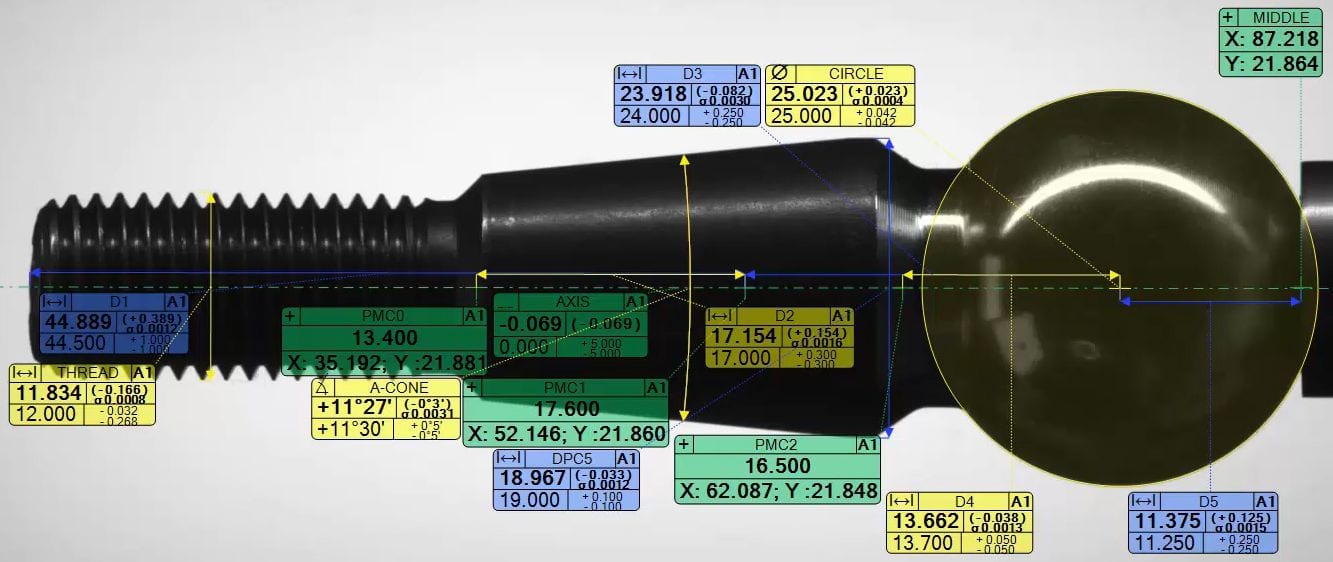
Specialized technology for measuring in the industrial field
The VEA optical micrometer, a leading manufacturer of these instruments, guarantees precision in an industrial environment by means of a series of proprietary technologies.
- With 4-stage thermal compensation LTC (Laboratory Thermal Compensation) It is possible to perform measurements in a production environment on parts with a temperature range between 10° and 60° with the same accuracy as in a metrology laboratory (20° ±1°).
- The module MSA (Micro Stabilized Accuracy) performs three basic functions: stabilizes environmental vibrations, increases measurement accuracy, analyzes part measurability and provides real-time repeatability value.
- The use of technology XVR2 (Extended Virtual Resolution 2) allows, thanks to the increasingly advanced deep learning technologies, to use the remarkable resolution of 750 Mpixel.
- The electronic filter DAF (Dirty Advanced Filter) evaluates the amount of dirt deposited on the workpiece in order to produce a correct measurement or to indicate that the workpiece needs cleaning.
- The automatic generation of the measuring axis allows the micrometer to perform correct measurements even on non-aligned parts.
- The multi-master auto-calibration (up to 20) ensures the accuracy of the micrometer over time, even without the help of a specialized operator. In addition to the standard calibration blocks, measured master samples can also be used for calibration.
- The illuminator a staggered polychromatic light (white visual appearance) allows to cancel measurement inaccuracies on some materials due to the speckle effect of monochromatic light (red, green or blue visual appearance)
- A series of specific algorithms optimize precision even in the case of different materials, colours and surface finishes.
- Possibility to measure not only withascopia light (backlighting), but also with episcopic (frontal) and oblique light.
Several micrometer models optimized on your parts for maximum performance
We are well aware that our customers' measurement parts come in certain shapes and sizes, so we have designed several models of our micrometer to achieve the highest possible accuracy and speed.
23 different fields of view with diameters from 6 mm up to 300 mm, each with 3 different shapes, circular, rectangular 4/3 size, rectangular 2/1 size.
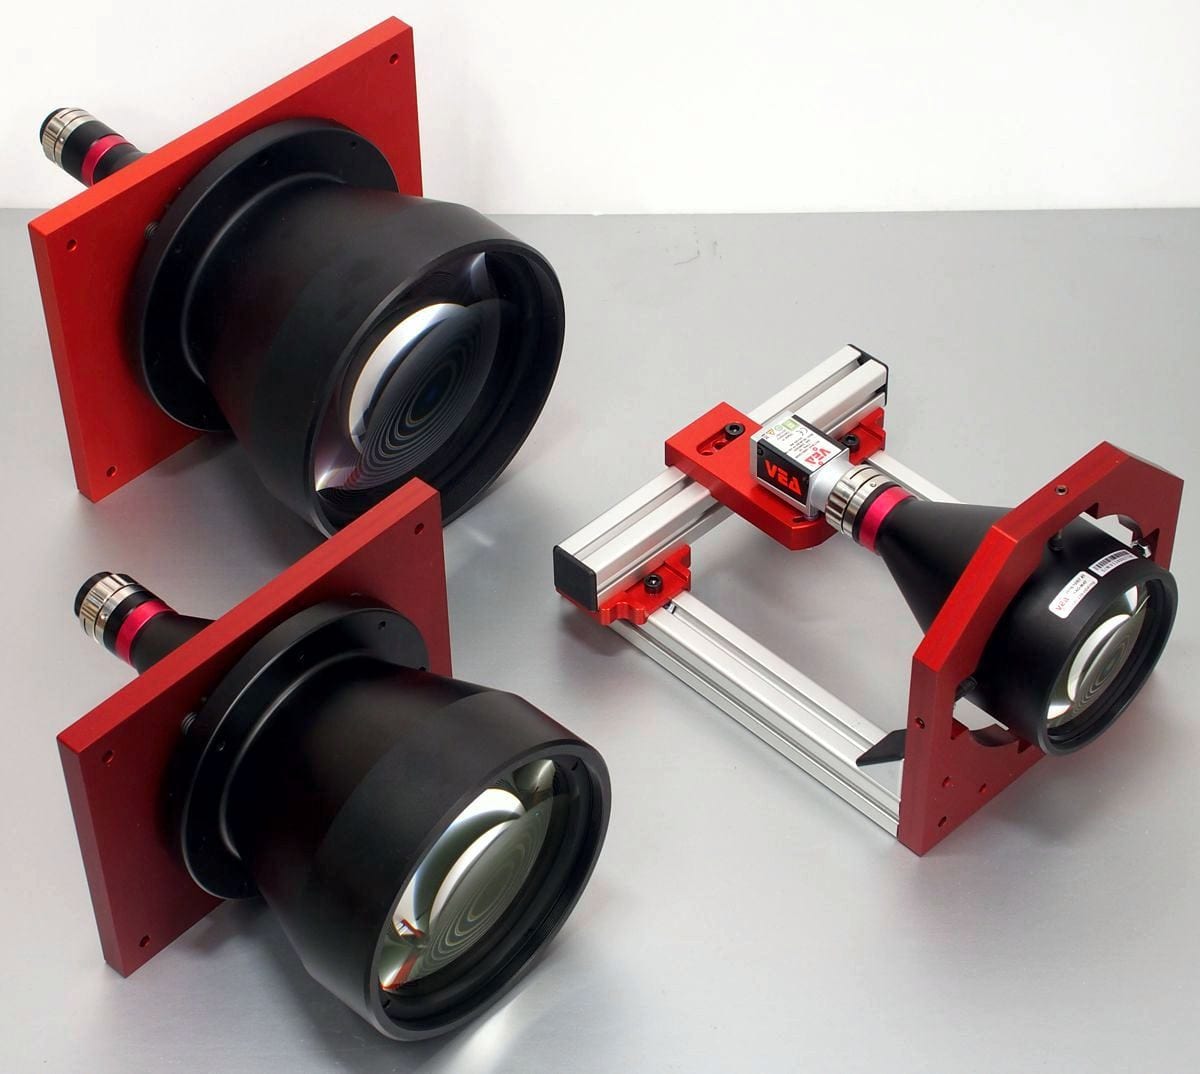
All models of optical micrometer are built with bitelecentric optical units and are available in 4 different depths of field depending on the use to be made of them.
Micro depth of fieldused to see the inside of pieces that have different shapes with Z dimensions of a few tenths of an inch from each other. For example, perforated objects with machining that create different diameters inside them.
Low depth of fieldUsed with rotating parts in order to have the highest possible precision. For example, it is used for measuring pistons or other cylindrical objects to have micrometric accuracies even on large objects.
Medium depth of fieldNormally used with workpieces moving on a belt or which are expected to deviate in the measuring axis.
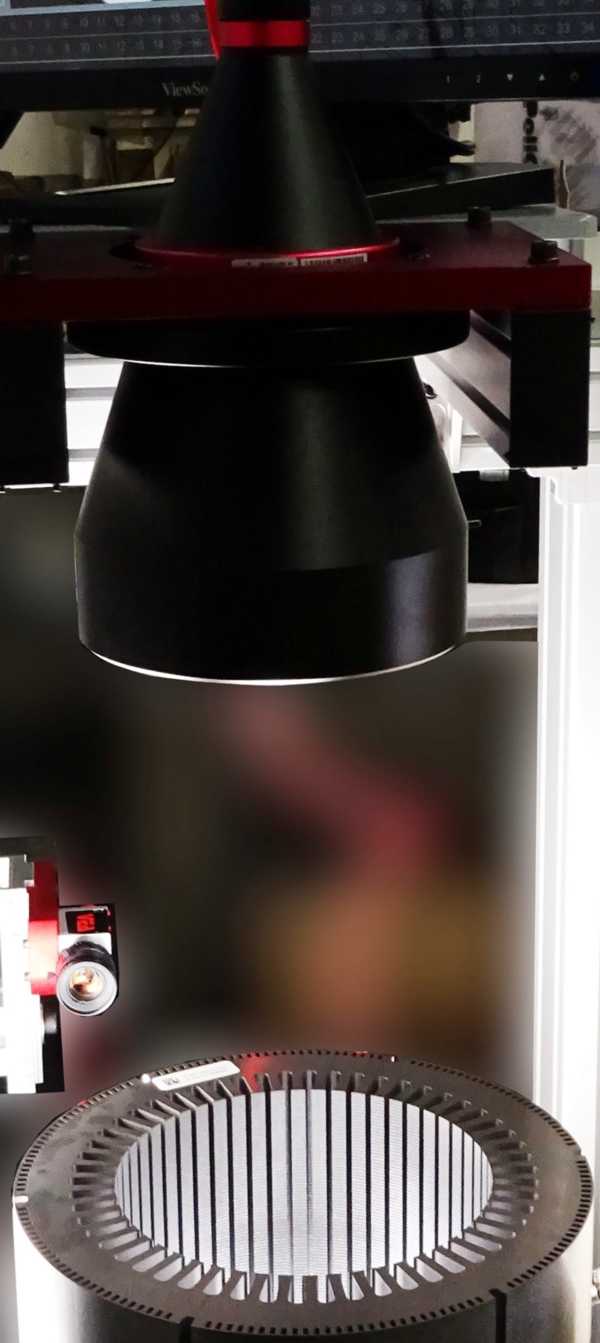
High depth of fieldUsed on objects up to 200 mm high to see defects over their entire height. For example, to see inside the grooves of the motor's sheet metal packages, or the presence of chips or anything else on hollow objects.
For a total of 276 different micrometer models to meet any requirement.
Each VEA optical micrometer allows 3 different measuring modes: stationary workpiece, rotating workpiece, workpiece in linear motion. Depending on the mode, the micrometer optimizes the measurement accuracy and can calculate three-dimensional geometric tolerances such as cylindricity.
The high power processing unit of our micrometer can process up to 12000 images / minute and 256 measurements per image, can store more than 5000 different product programs. Material and surface quality analysis modules can be integrated.
Each processing unit can manage up to 8 reading heads, even of different types.
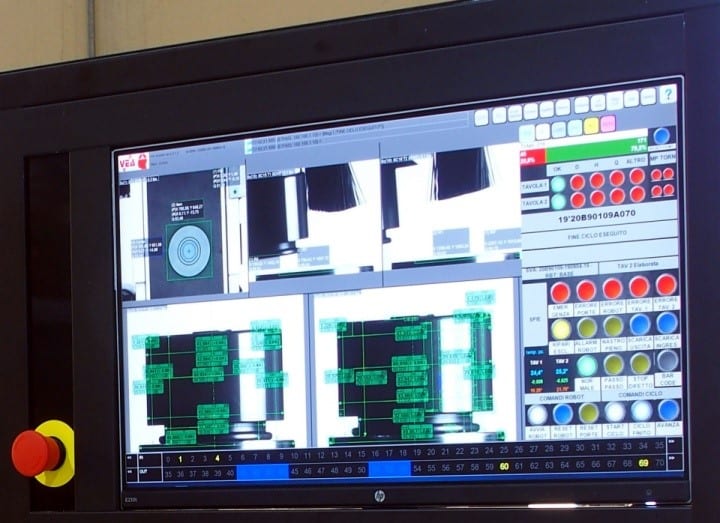
The operator interface is fully and easily configurable, so that the data you are interested in is highlighted.
| 6 | 6 mm | ± 0,4 μm | ± 0,05 μm |
| 12 | 12 mm | ± 0,6 μm | ± 0,06 μm |
| 18 | 18 mm | ± 0,9 μm | ± 0,08 μm |
| 26 | 26 mm | ± 1,2 μm | ± 0,09 μm |
| 36 | 36 mm | ± 1,5 μm | ± 0,11 μm |
| 42 | 42 mm | ± 1,8 μm | ± 0,12 μm |
| 48 | 48 mm | ± 2,0 μm | ± 0,13 μm |
| 56 | 56 mm | ± 2,3 μm | ± 0,15 μm |
| 64 | 64 mm | ± 2,6 μm | ± 0,17 μm |
| 72 | 72 mm | ± 2,9 μm | ± 0,2 μm |
| 80 | 80 mm | ± 3,2 μm | ± 0,2 μm |
| 90 | 90 mm | ± 3,5 μm | ± 0,2 μm |
| 100 | 100 mm | ± 3,9 μm | ± 0,2 μm |
| 120 | 120 mm | ± 4,6 μm | ± 0,3 μm |
| 150 | 150 mm | ± 5,8 μm | ± 0,3 μm |
| 190 | 190 mm | ± 7,2 μm | ± 0,4 μm |
| 240 | 240 mm | ± 9,1 μm | ± 0,5 μm |
| 300 | 300 mm | ± 11,3 μm | ± 0,6 μm |
The integrated PLC allows to interface with any industrial system, starting from 8 inputs and 8 freely programmable outputs expandable up to 128 inputs and 128 outputs.
The top level interface is fully compliant with "industry 4.0" standards, can use RS232, USB3, Ethernet physical ports with configurable or standard protocols such as TCP-IP and OPC-UA.
The use of a special supercapacitor UPS ensures the transmission of information to external units even in the event of a power failure on the production line, also in compliance with the most stringent "industry 4.0" standards.
Statistical module to perform the analysis of measurement systems (MSA) that processes information of mean, variance, standard deviation, Cg, Cgk.
All measured values and statistical information can be saved on the unit or sent directly to the server.
The information format is fully configurable by the user.
Security is guaranteed by 8 passwords divided into 4 levels.
Examples of applications in the production environment

Double optical micrometer MICR2-100 on robotic system
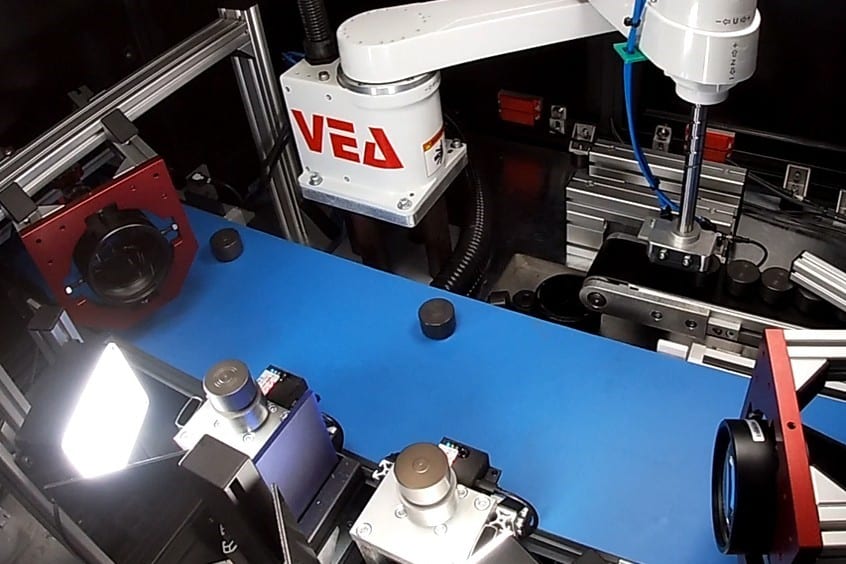
Double optical micrometer MICR2-80 on robotic system
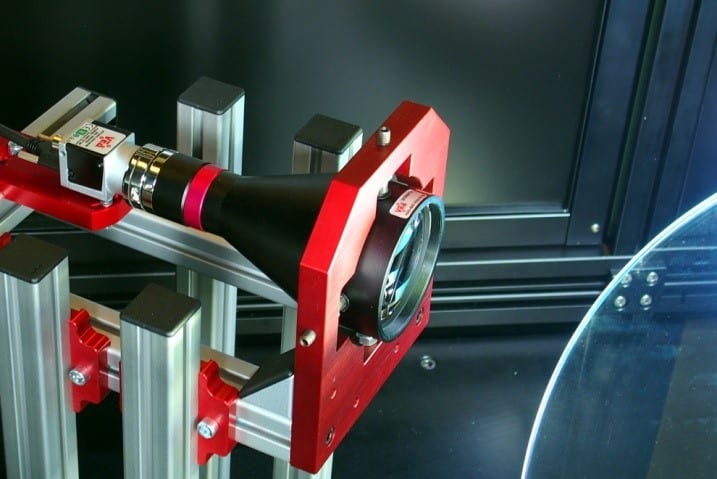
Optical micrometer MICR2-56 on rotating disc system
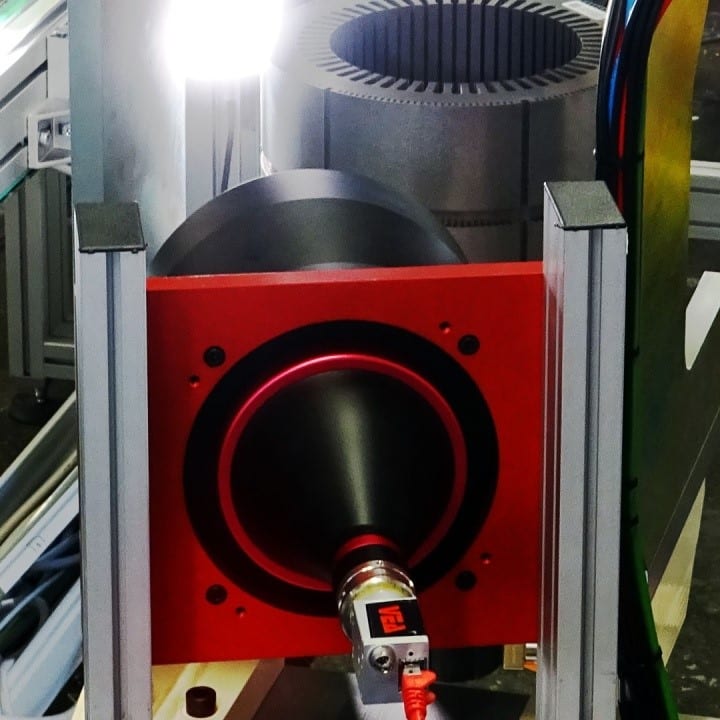
Optical micrometer MICR2-150 for electric motor control
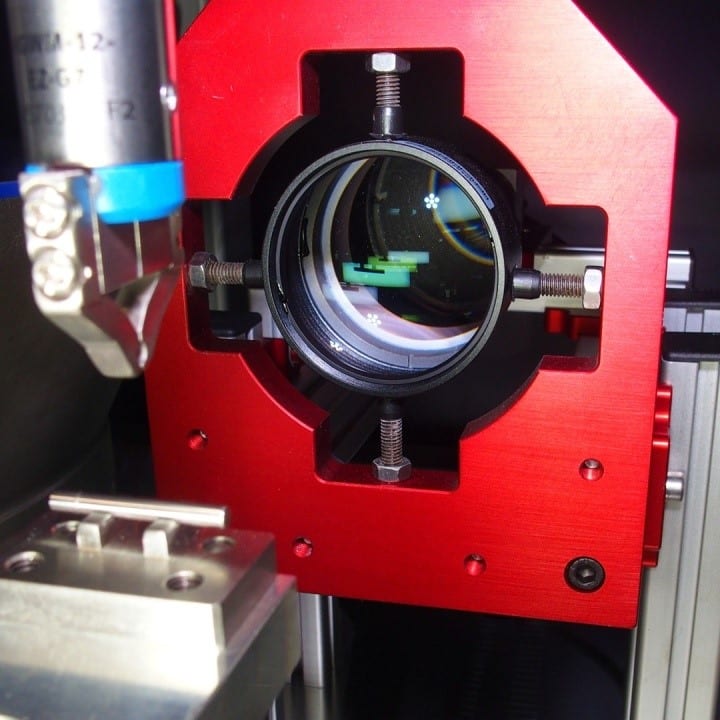
Optical micrometer MICR2-48

MICR2-26 optical micrometer for bushings control
Integrated measurement and quality control
Often the quality of a part is not defined by measurement alone, but an aesthetic check is also necessary.
All VEA micrometers have the possibility to integrate various types of quality controls and surface analysis.
A series of defects such as barrel, porosity, opacity, dirt, cracks, flaking, scratches, presence of foreign bodies, deformations, lack of components and more can be detected.
These micrometers can also use any type of illumination in a combined way, so they can operate not only with diascopia light (backlighting), but also with episcopic (frontal) and oblique light.
Optical groups
Our bitelecentric optical units use a linear optical construction.
This is a precise choice to achieve the highest possible accuracy.
Our laboratory tests have shown that any additional elements affect accuracy. We do not use mirrors, prisms or zooms to avoid image distortion and thus reduce accuracy.
Micrometric rotation tables
The VEA optical micrometer rotary tables are designed to measure circular objects over 360°.
These rotary tables have axial circular oscillation tolerances in the order of a few microns.
The workpiece can also be placed in an inaccurate position with respect to the centre of the table: the VEA optical micrometer will automatically compensate for the lack of concentricity with respect to the table.
The particular precision of these tables and the characteristics of VEA optical micrometers allow to perform cylindricity, concentricity and circularity measurements with micrometric accuracy.
The motor of the tables is controlled directly by the optical micrometer. The motor can be configured to perform constant speed rotations or angular position sequences.


