- 200 photos per second
- more than 100,000 measurements per second
- Real-time precision control
- Temperature and vibration compensation
- Submicrometric accuracy
VISION SYSTEMS FOR MEASUREMENT: REAL-WORLD EXAMPLES
Vision systems for production line measurement are advanced solutions that use cameras, optical sensors and software to perform dimensional and quality checks on products during the production process. These systems operate in real time, without interrupting the production flow, ensuring high accuracy and speed of analysis. One of the main applications of these systems is the non-contact measurement of critical product dimensions
Their operation is based on high-resolution cameras and optical micrometers that acquire images or measurements of the part and process them using advanced algorithms. Thanks to these technologies, it is possible to accurately check dimensions, tolerances and detect any defects.
The processing speed of vision systems enables 100% inspection of production, reducing the need for spot checks and increasing production efficiency.
Vision systems find application in sectors such as automotive, aerospace and precision mechanics, where quality and repeatability of measurements are essential. By integrating with robots and management software, they optimise production processes, reduce waste and improve overall production line efficiency, making them an essential asset for Industry 5.0.
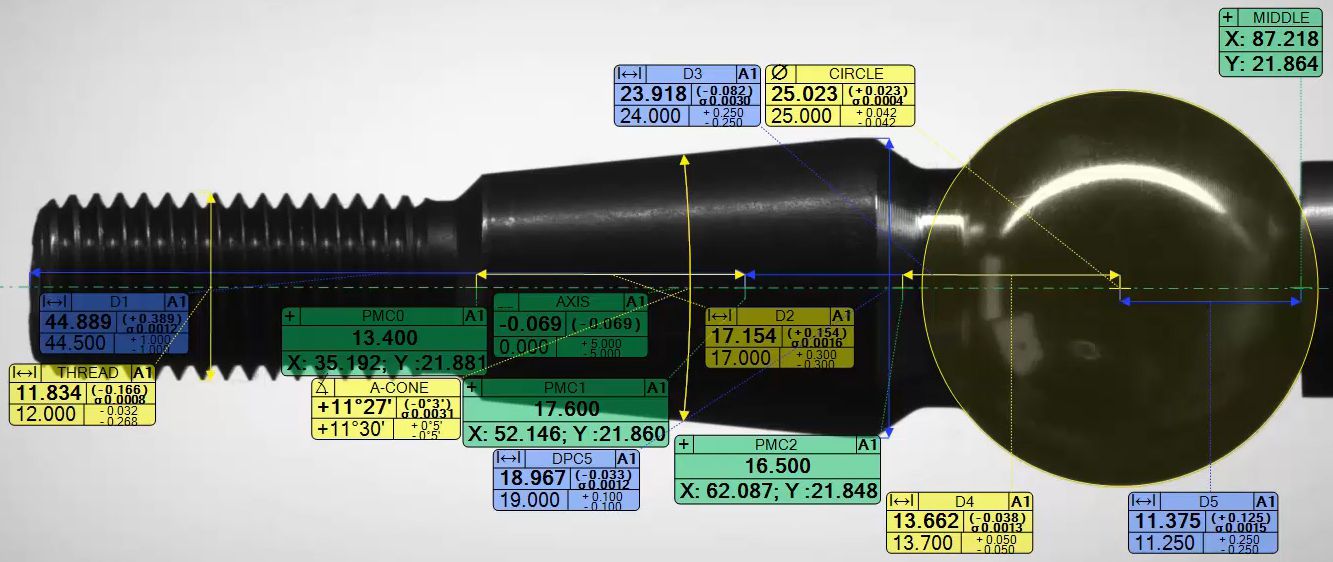
micrometric measuring system on a turned and threaded part combined with quality control
The vision system integrated in this plant performs advanced functions of robot guidance, micrometric measurement and quality control, ensuring high accuracy in the analysis of machined steel parts with reflective surfaces.
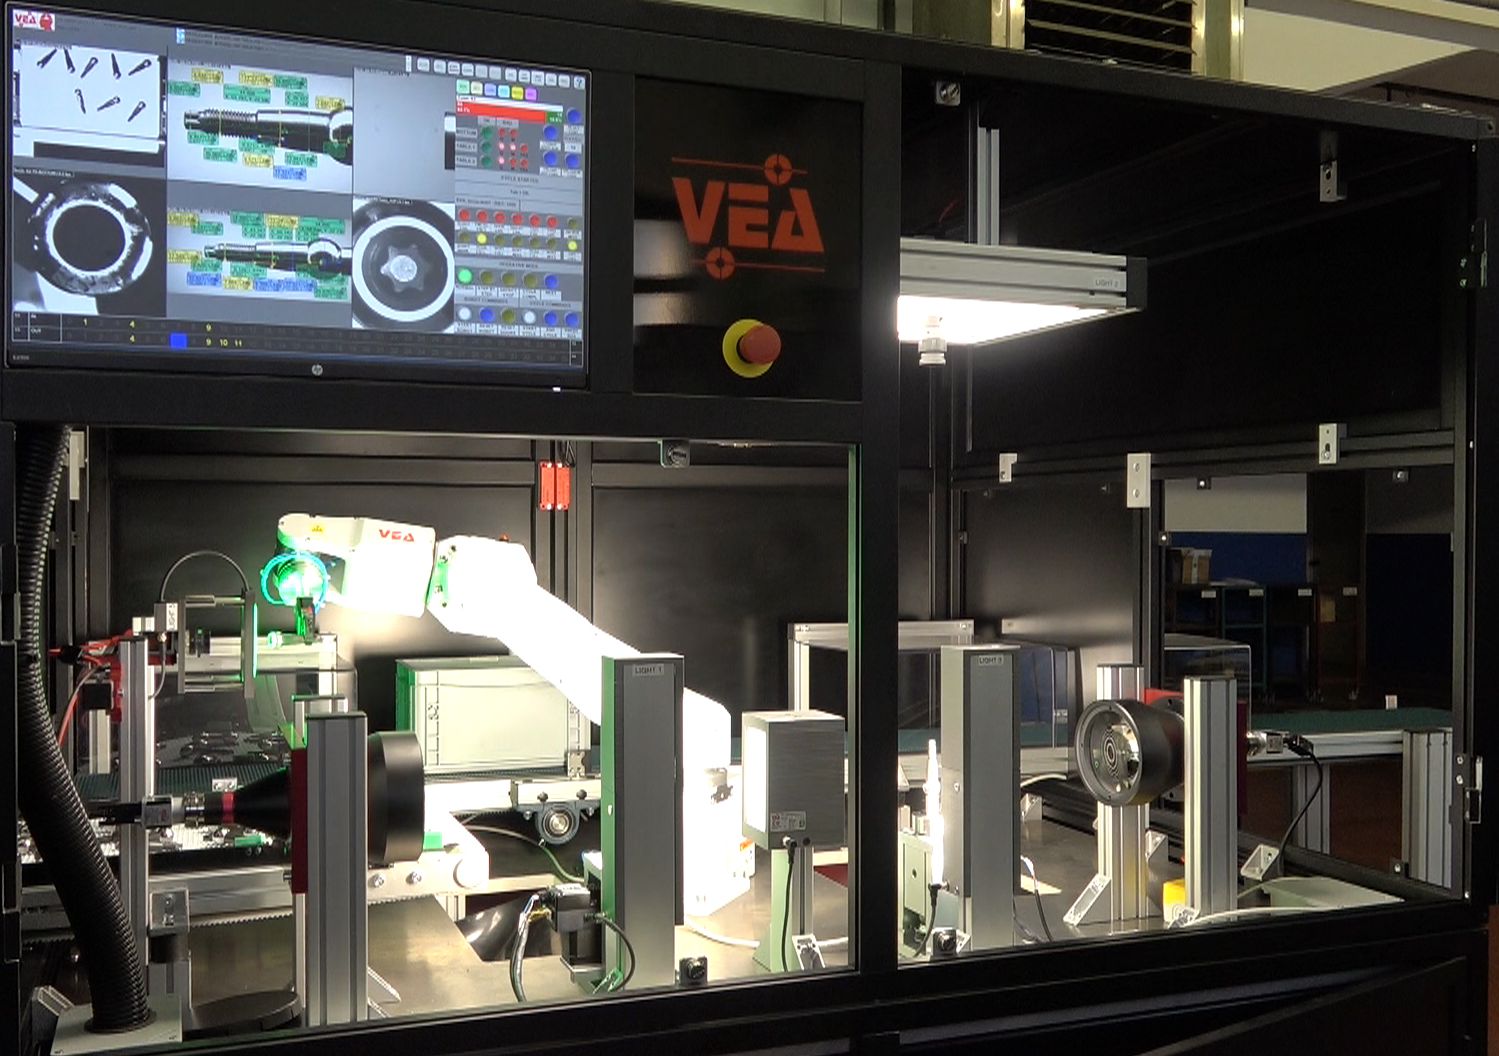
Features of the vision system
Robot guide
The system is designed to optimise the robotic picking of components with highly reflective surfaces. The parts, placed randomly on a conveyor belt, are recognised and picked up precisely to be transferred to analysis stations without risk of damage.
Simultaneous measurement and quality control
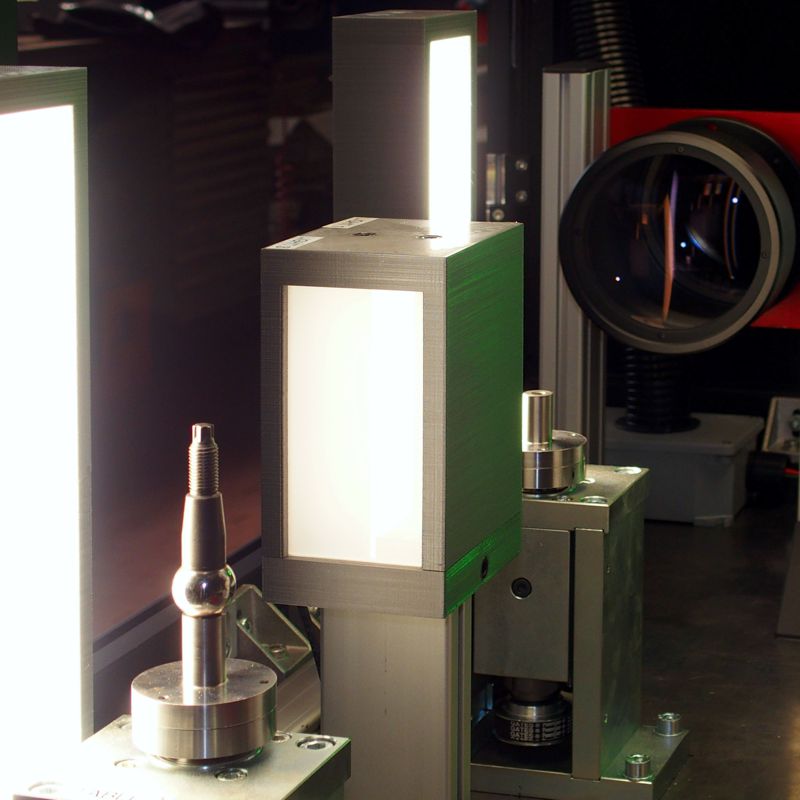
A single system handles two 100 mm diameter optical micrometers and a dedicated camera for inspecting the bottom of the part. During the analysis cycle, the component rotates for three seconds, during which time 180 measurement sessions are performed, each with more than 50 detections. In parallel, quality control detects defects such as dents, engravings, burrs and oxidation.
To ensure maximum accuracy, the optical micrometers adopt a self-calibration system based on a reference set of up to 10 calibrated parts. This approach enables compliance with the most stringent regulations on production line measuring equipment, ensuring constant reliability and accuracy.
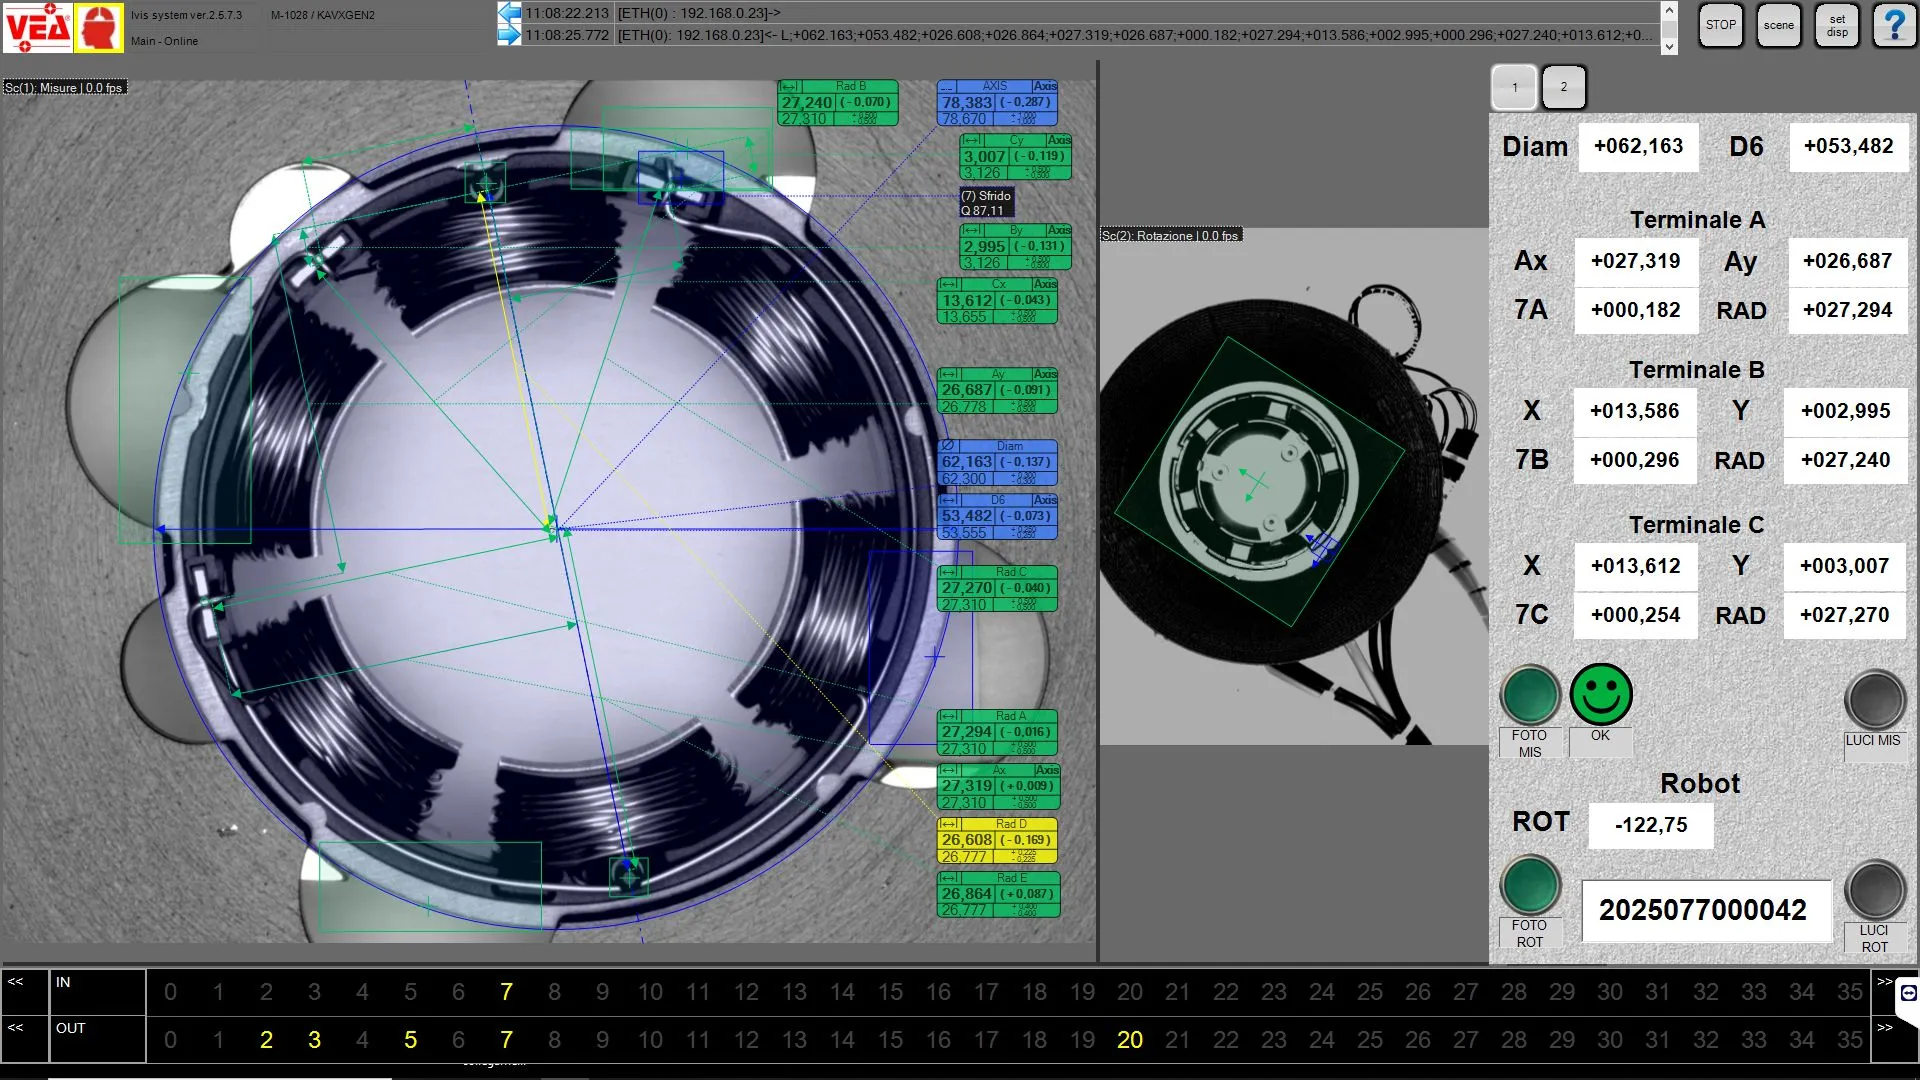
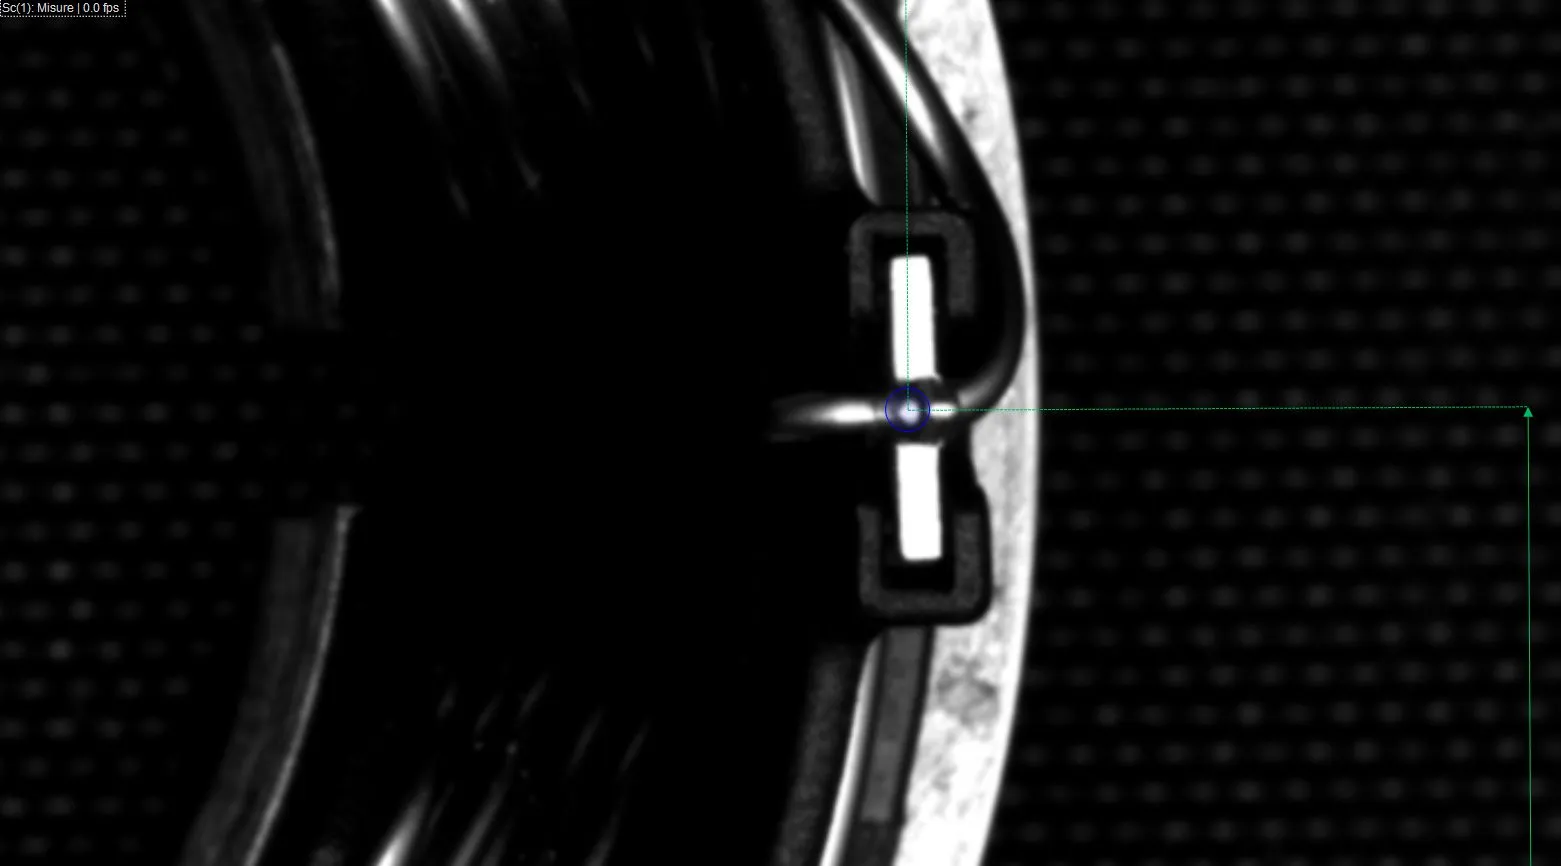
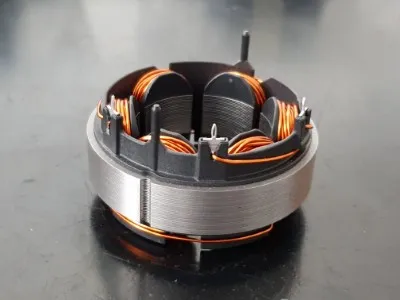
stator measuring system and swarf check
Vision system with dual camera for robot guidance and stator measurement. It orients parts, checks tolerances, checks scrap and stores data for traceability, ensuring quality and full integration with robot and plant.
Features of the vision system
Robot guide for stator plate orientation
Before being loaded into the machine, the stator must be correctly oriented to an accuracy of tenths of a degree, a camera checks the part and corrects the orientation by transmitting the correction to the robot.
Stator measurement
Following the measurement specifications dictated by the customer, the system reconstructs the geometry required to detect the desired measurements, for each stator the measurements are checked, if the measurements are out of tolerance the part is rejected. In any case, the measured data is archived to allow traceability.
Quality control of stators
In addition to the measurements, there is a check for scrap in the product.
