- 200 photos per second
- up to 100 m/min
- Analysis of lack of uniformity
- Analysis of scratches, dents, colour differences
- On plastic, metal, paper, fabric, special materials
VISION SYSTEMS FOR SURFACE ANALYSIS: REAL-WORLD EXAMPLES
In industry, surface quality control plays a crucial role in ensuring product quality and reliability. In this context, machine vision systems have established themselves as indispensable tools, capable of detecting defects and imperfections with unprecedented precision and speed.
These systems, based on high-resolution cameras and image processing algorithms, allow surfaces to be examined in detail, detecting anomalies such as scratches, dents, cracks, colour variations and texture defects. Surface quality control can be performed on both flat surfaces and three-dimensional objects, adapting to different production requirements.
The advantages of using vision systems for surface analysis are manifold:
-
Greater precision: Machine vision systems are able to detect defects that would escape the human eye, ensuring more accurate quality control.
-
Increased productivity: Automation of the inspection process reduces production time and increases production capacity.
-
Cost reduction: Early identification of defects minimises production waste and reduces rework costs.
-
Traceability and documentation: Machine vision systems can generate detailed reports on surface analysis, ensuring product traceability and regulatory compliance.
The applications of these systems are manifold and range from the automotive industry to electronics, from metallurgy to consumer goods production. In each sector, machine vision systems help to improve product quality and optimise production processes.
You can find the components to realise these applications at atelpi.com.
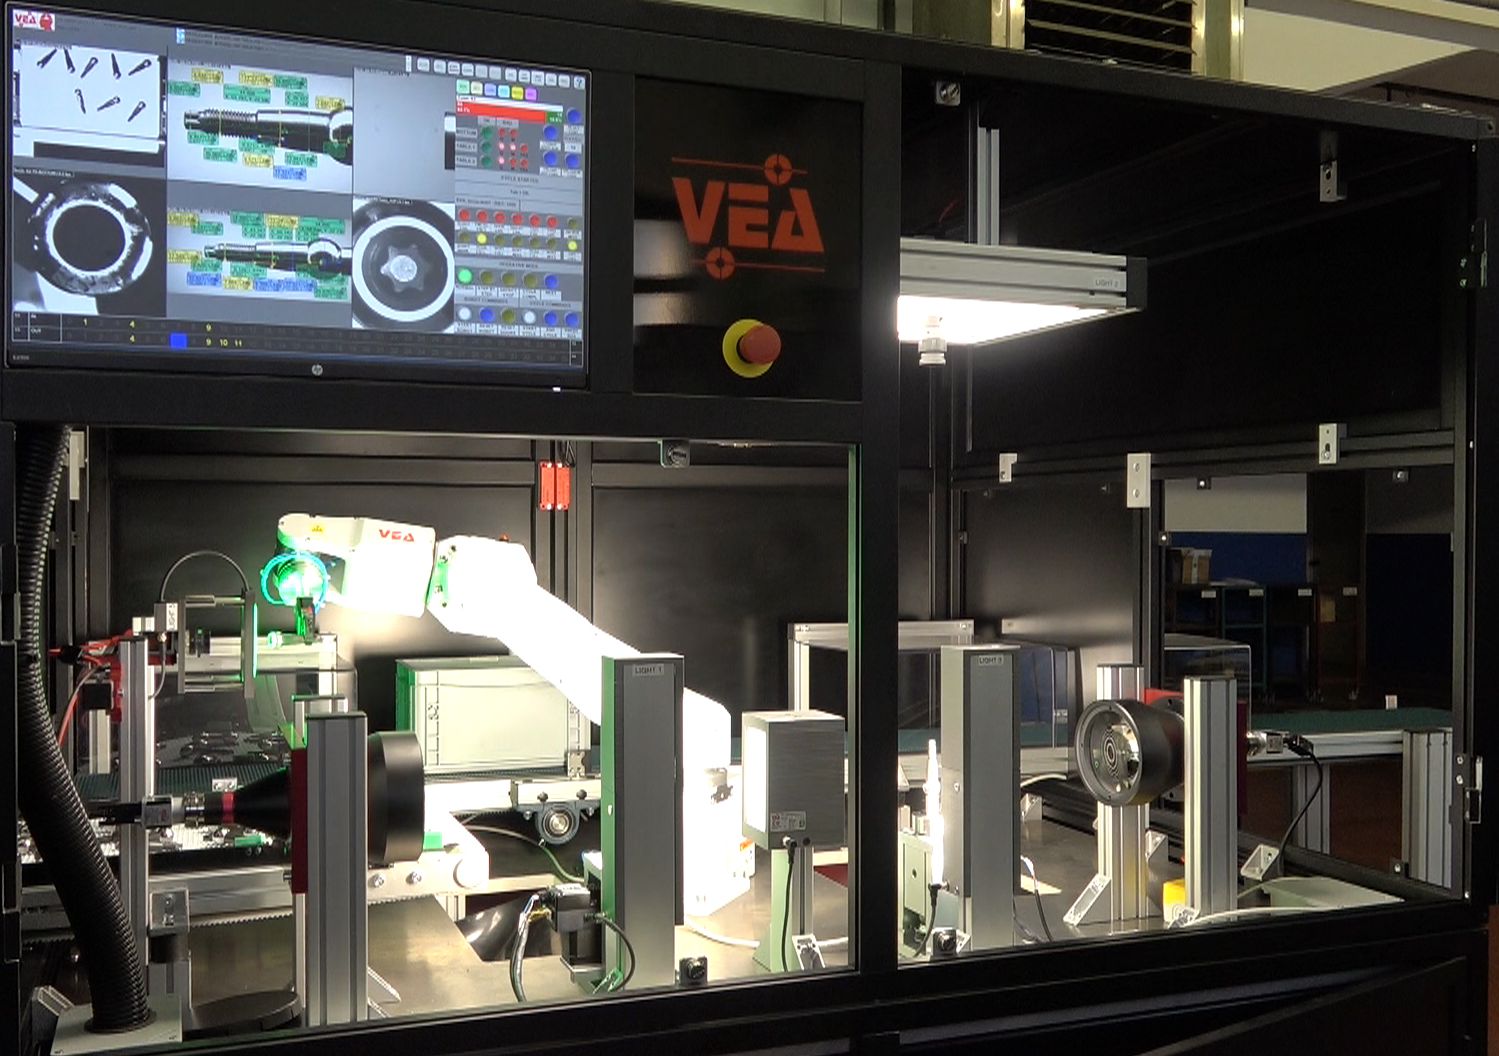
vision system for analysing the surface of a turned part
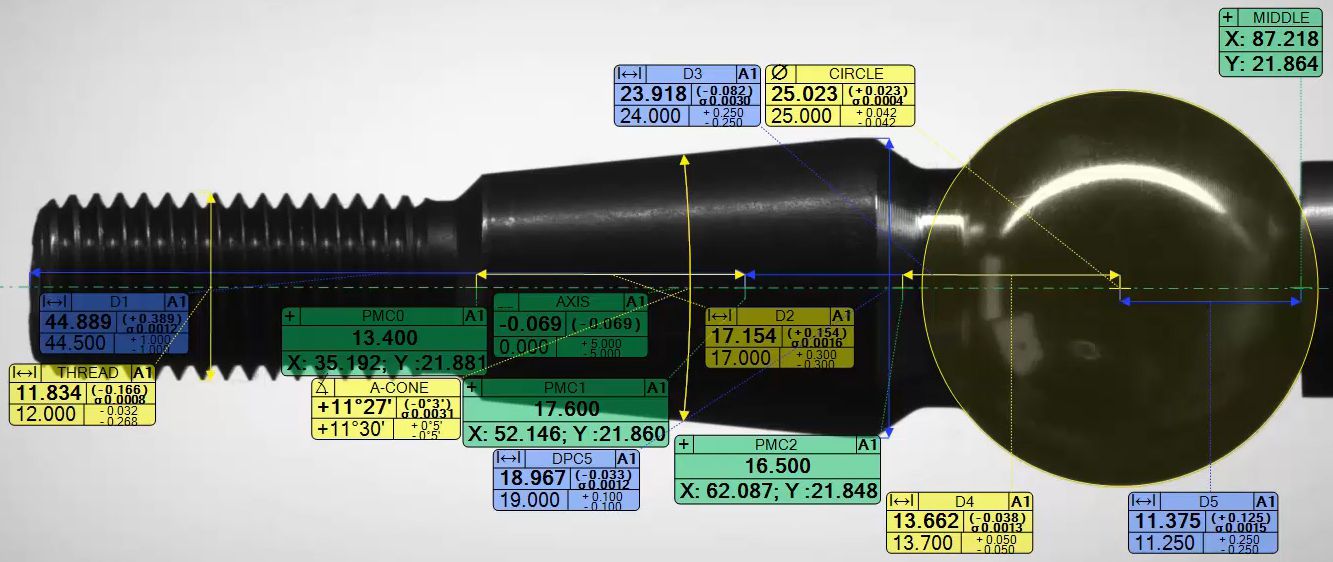
The vision system integrated in this plant performs advanced functions of robot guidance, micrometric measurement and quality control, ensuring high accuracy in the analysis of machined steel parts with reflective surfaces.

Features of the vision system
Robot guide
The system is designed to optimise the robotic picking of components with highly reflective surfaces. The parts, placed randomly on a conveyor belt, are recognised and picked up precisely to be transferred to analysis stations without risk of damage.
Simultaneous measurement and quality control
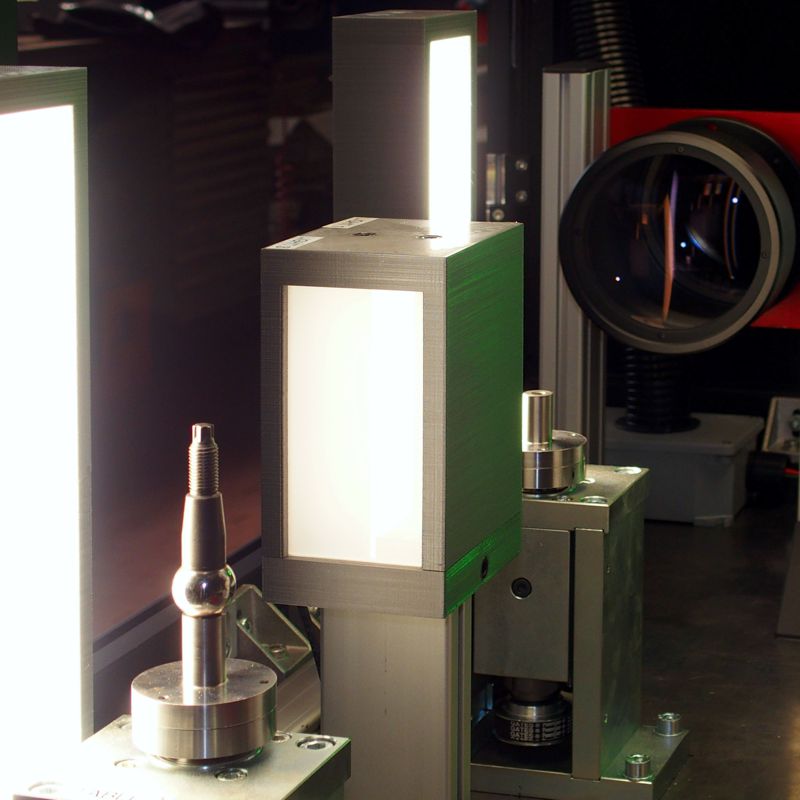
A single system handles two 100 mm diameter optical micrometers and a dedicated camera for inspecting the bottom of the part. During the analysis cycle, the component rotates for three seconds, during which time 180 measurement sessions are performed, each with more than 50 detections. In parallel, the surface quality control detects defects such as dents, engravings, burrs and oxidation.
To ensure maximum accuracy, the optical micrometers adopt a self-calibration system based on a reference set of up to 10 calibrated parts. This approach enables compliance with the most stringent regulations on production line measuring equipment, ensuring constant reliability and accuracy.


